Business Value
- Lets you build a request as a draft, so approvals never start by accident.
- Sets one store or one vendor for every line at once.
- Keeps item approvals when the buyer changes the vendor or the price.
- Returns a single line to the creator or to an earlier approval level.
- Logs every change and approval per item, by item number and name.
Use Cases
- A department head drafts the monthly order and submits it when it is complete.
- A buyer sets one vendor for all lines, then changes the two that come from elsewhere.
- A Level 3 approver finds a price problem and returns one item to Level 2.
How It Works
To follow a request’s ordering, approval and closing, see Purchase Requests – Status, Authorization & Closing.
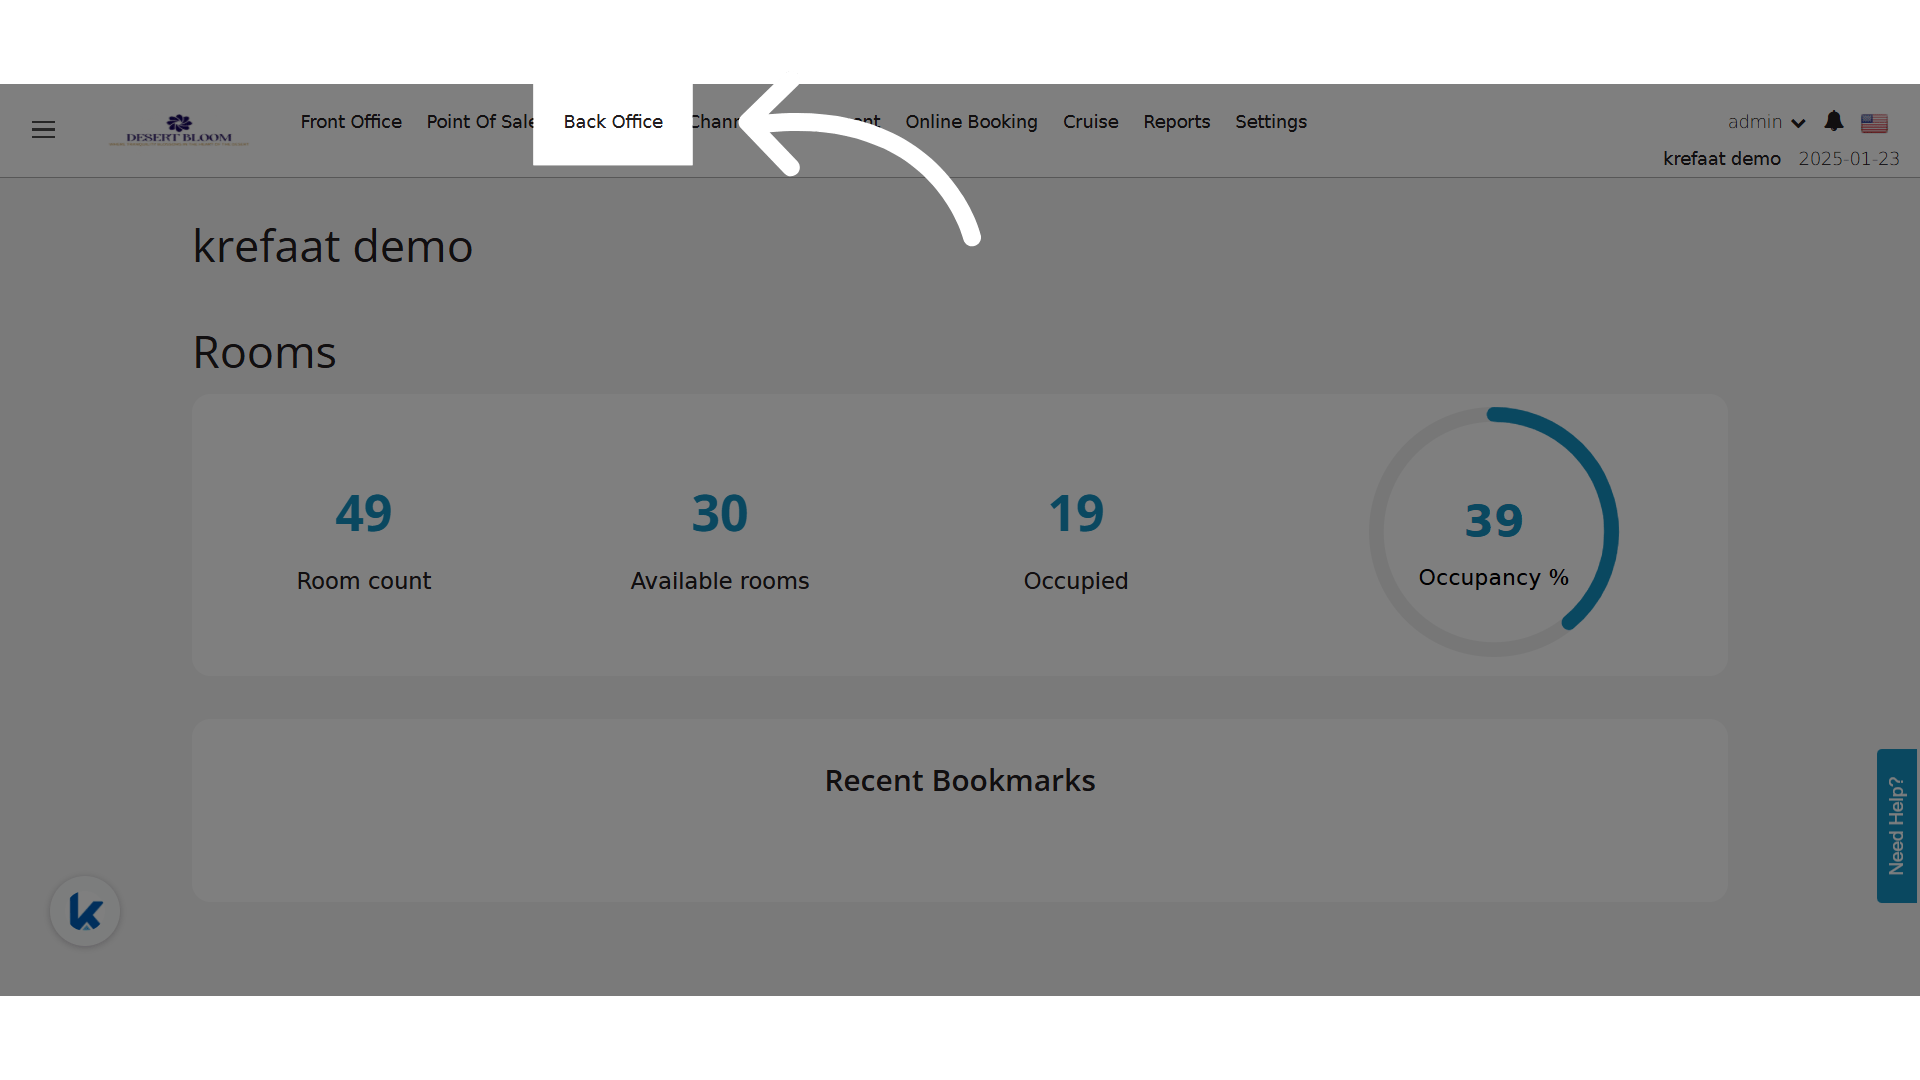
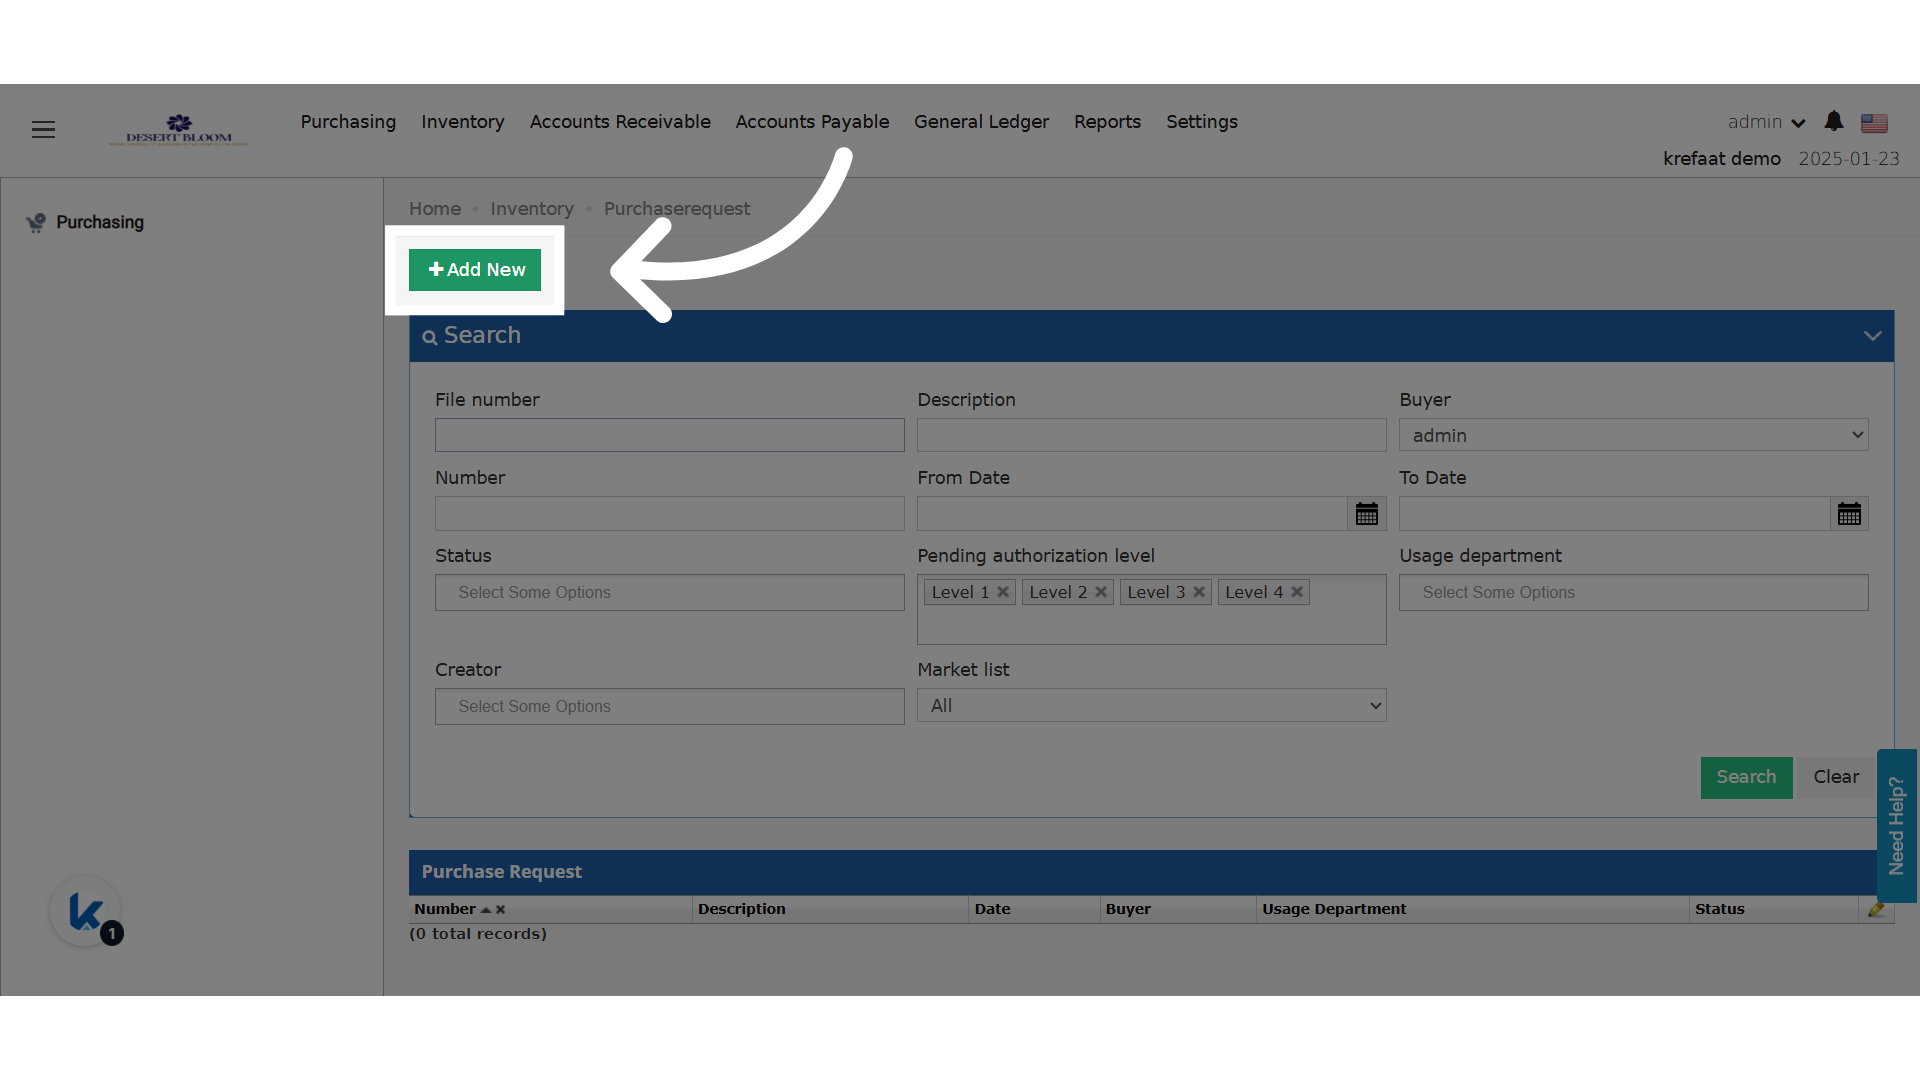
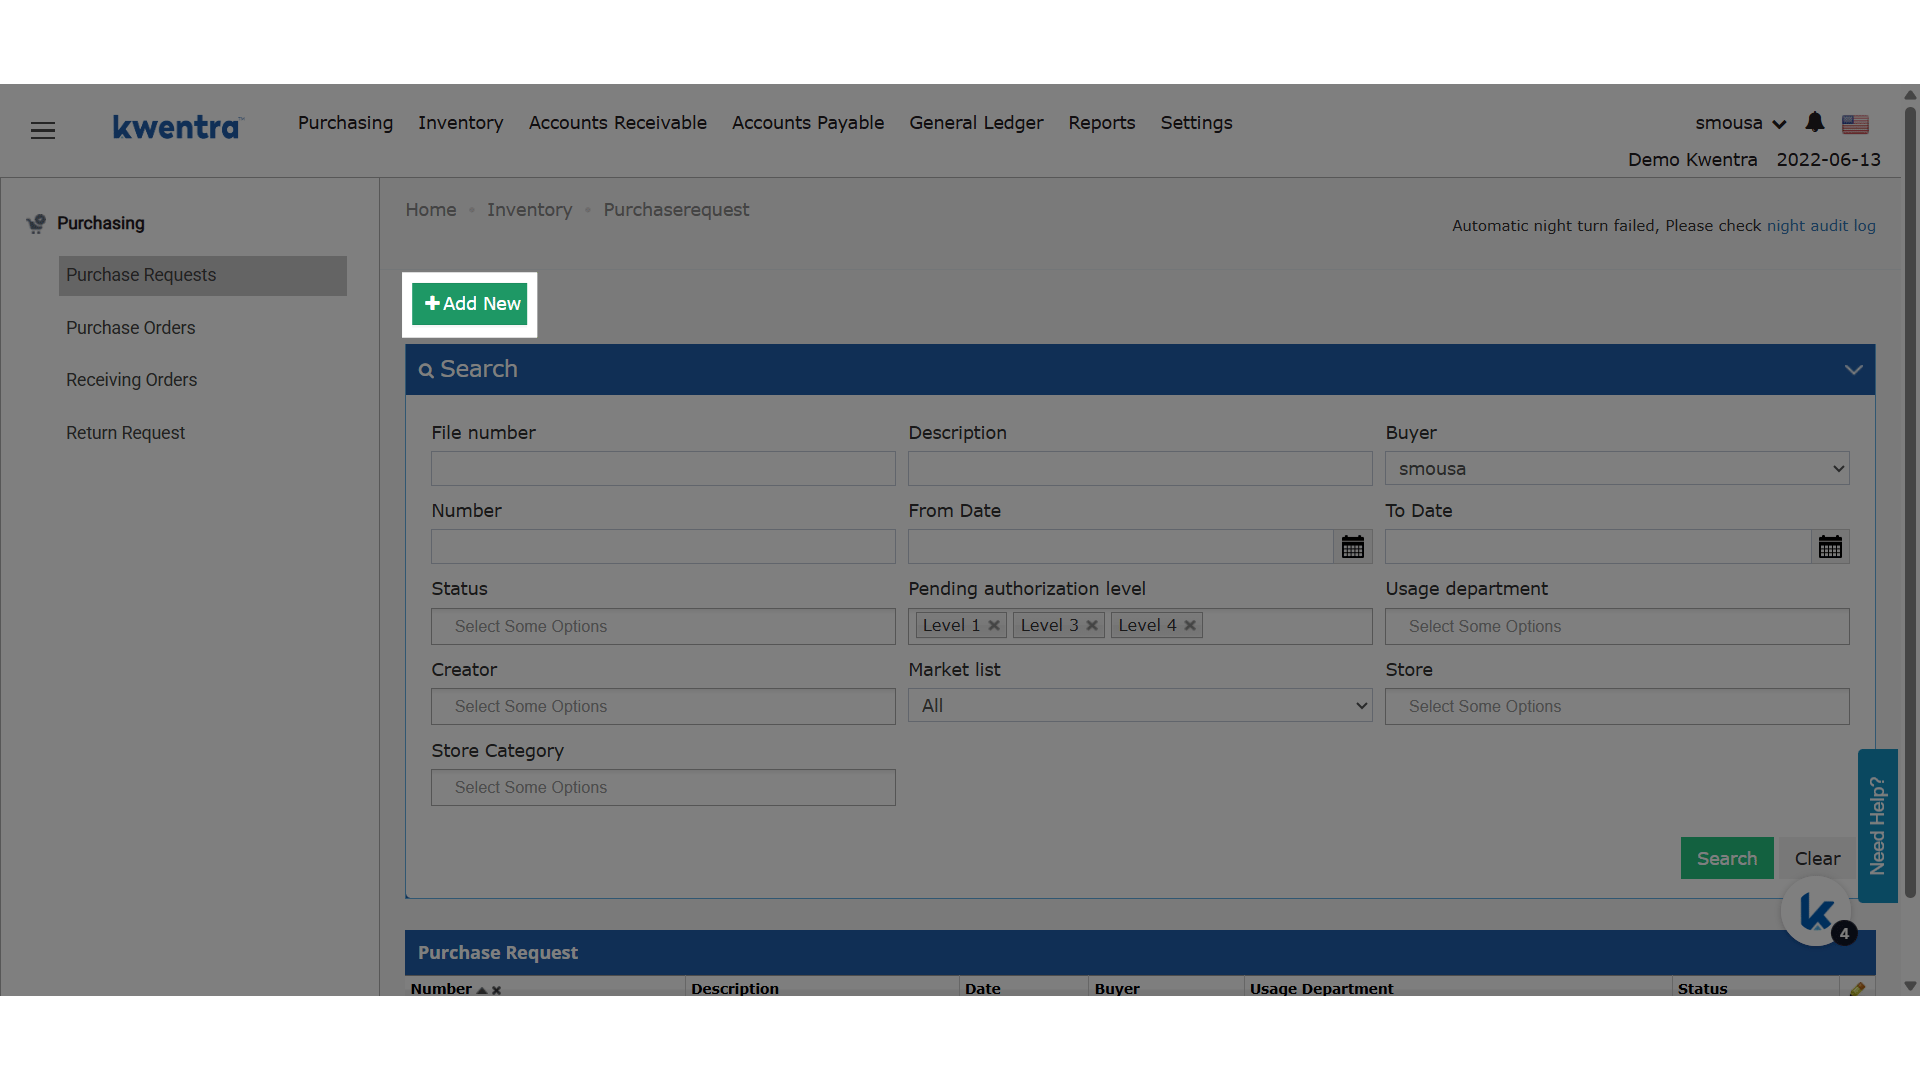
Create a Purchase Request
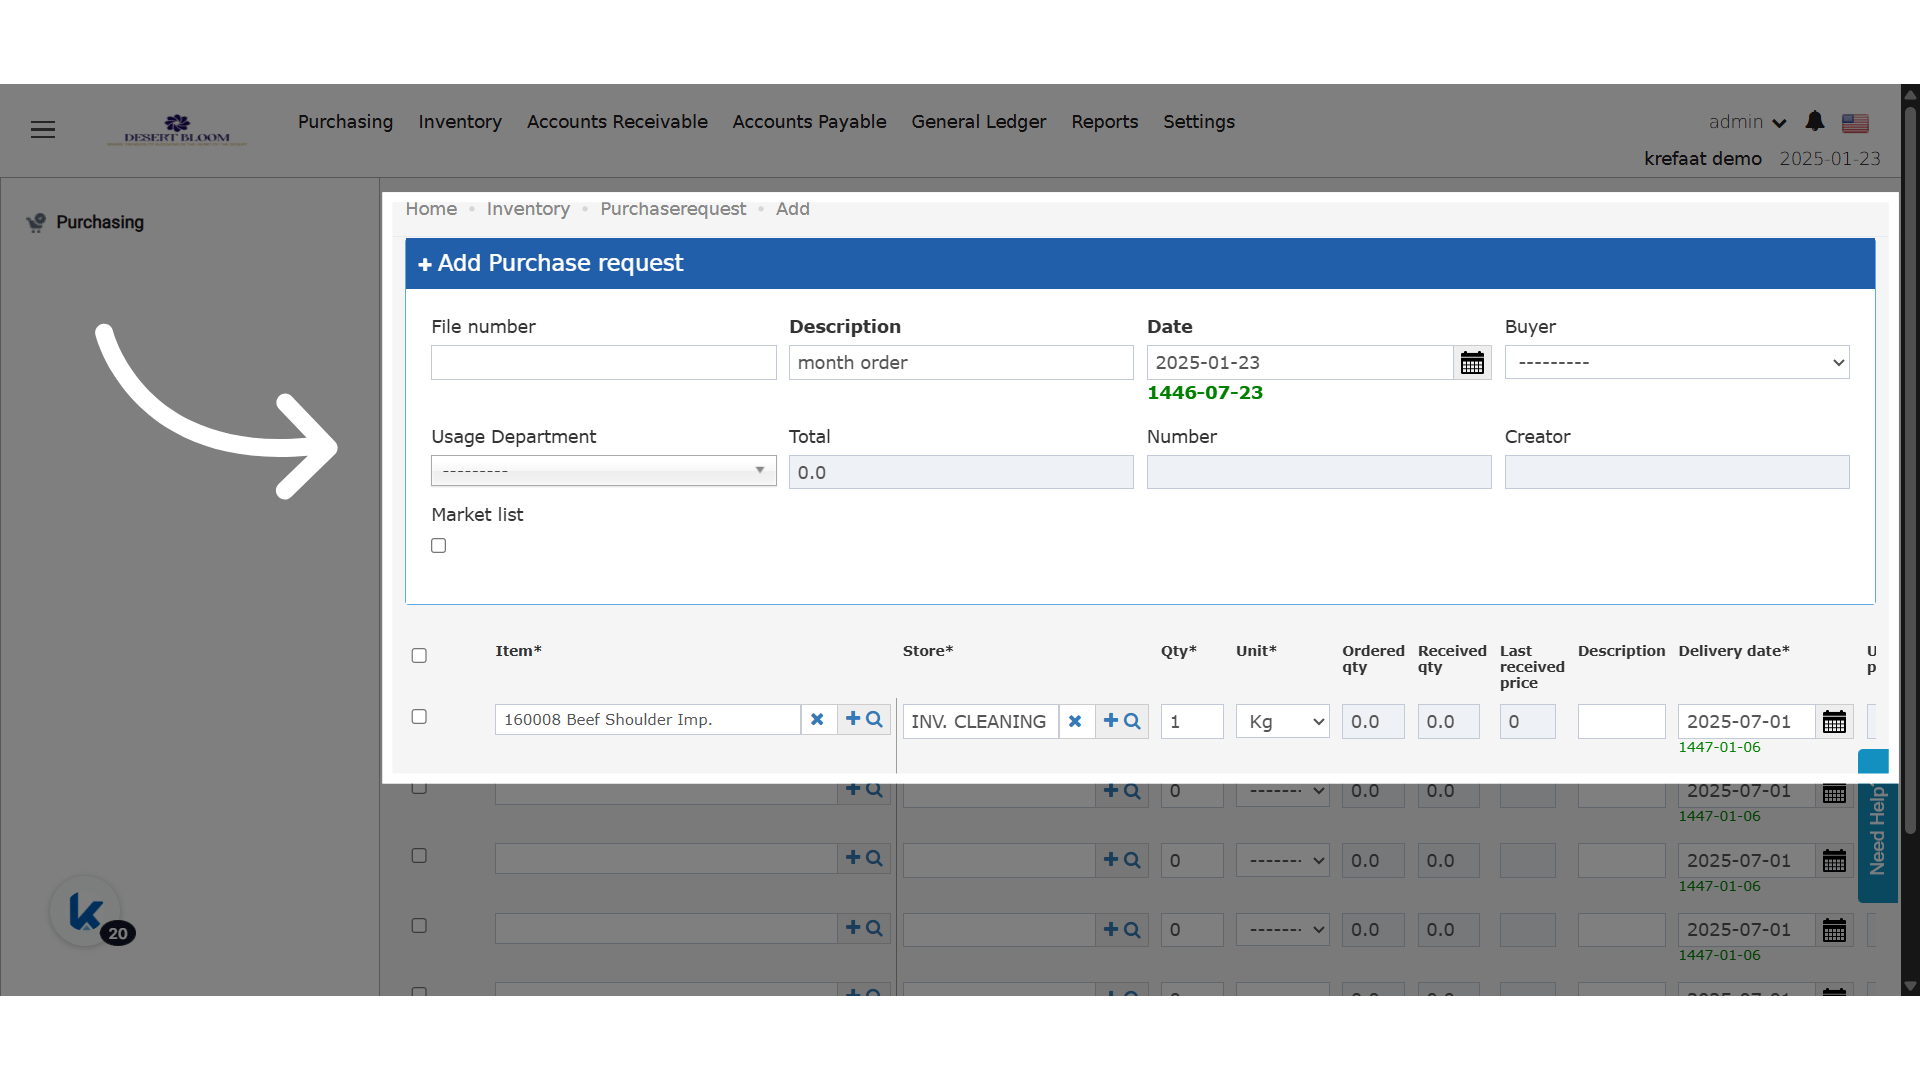
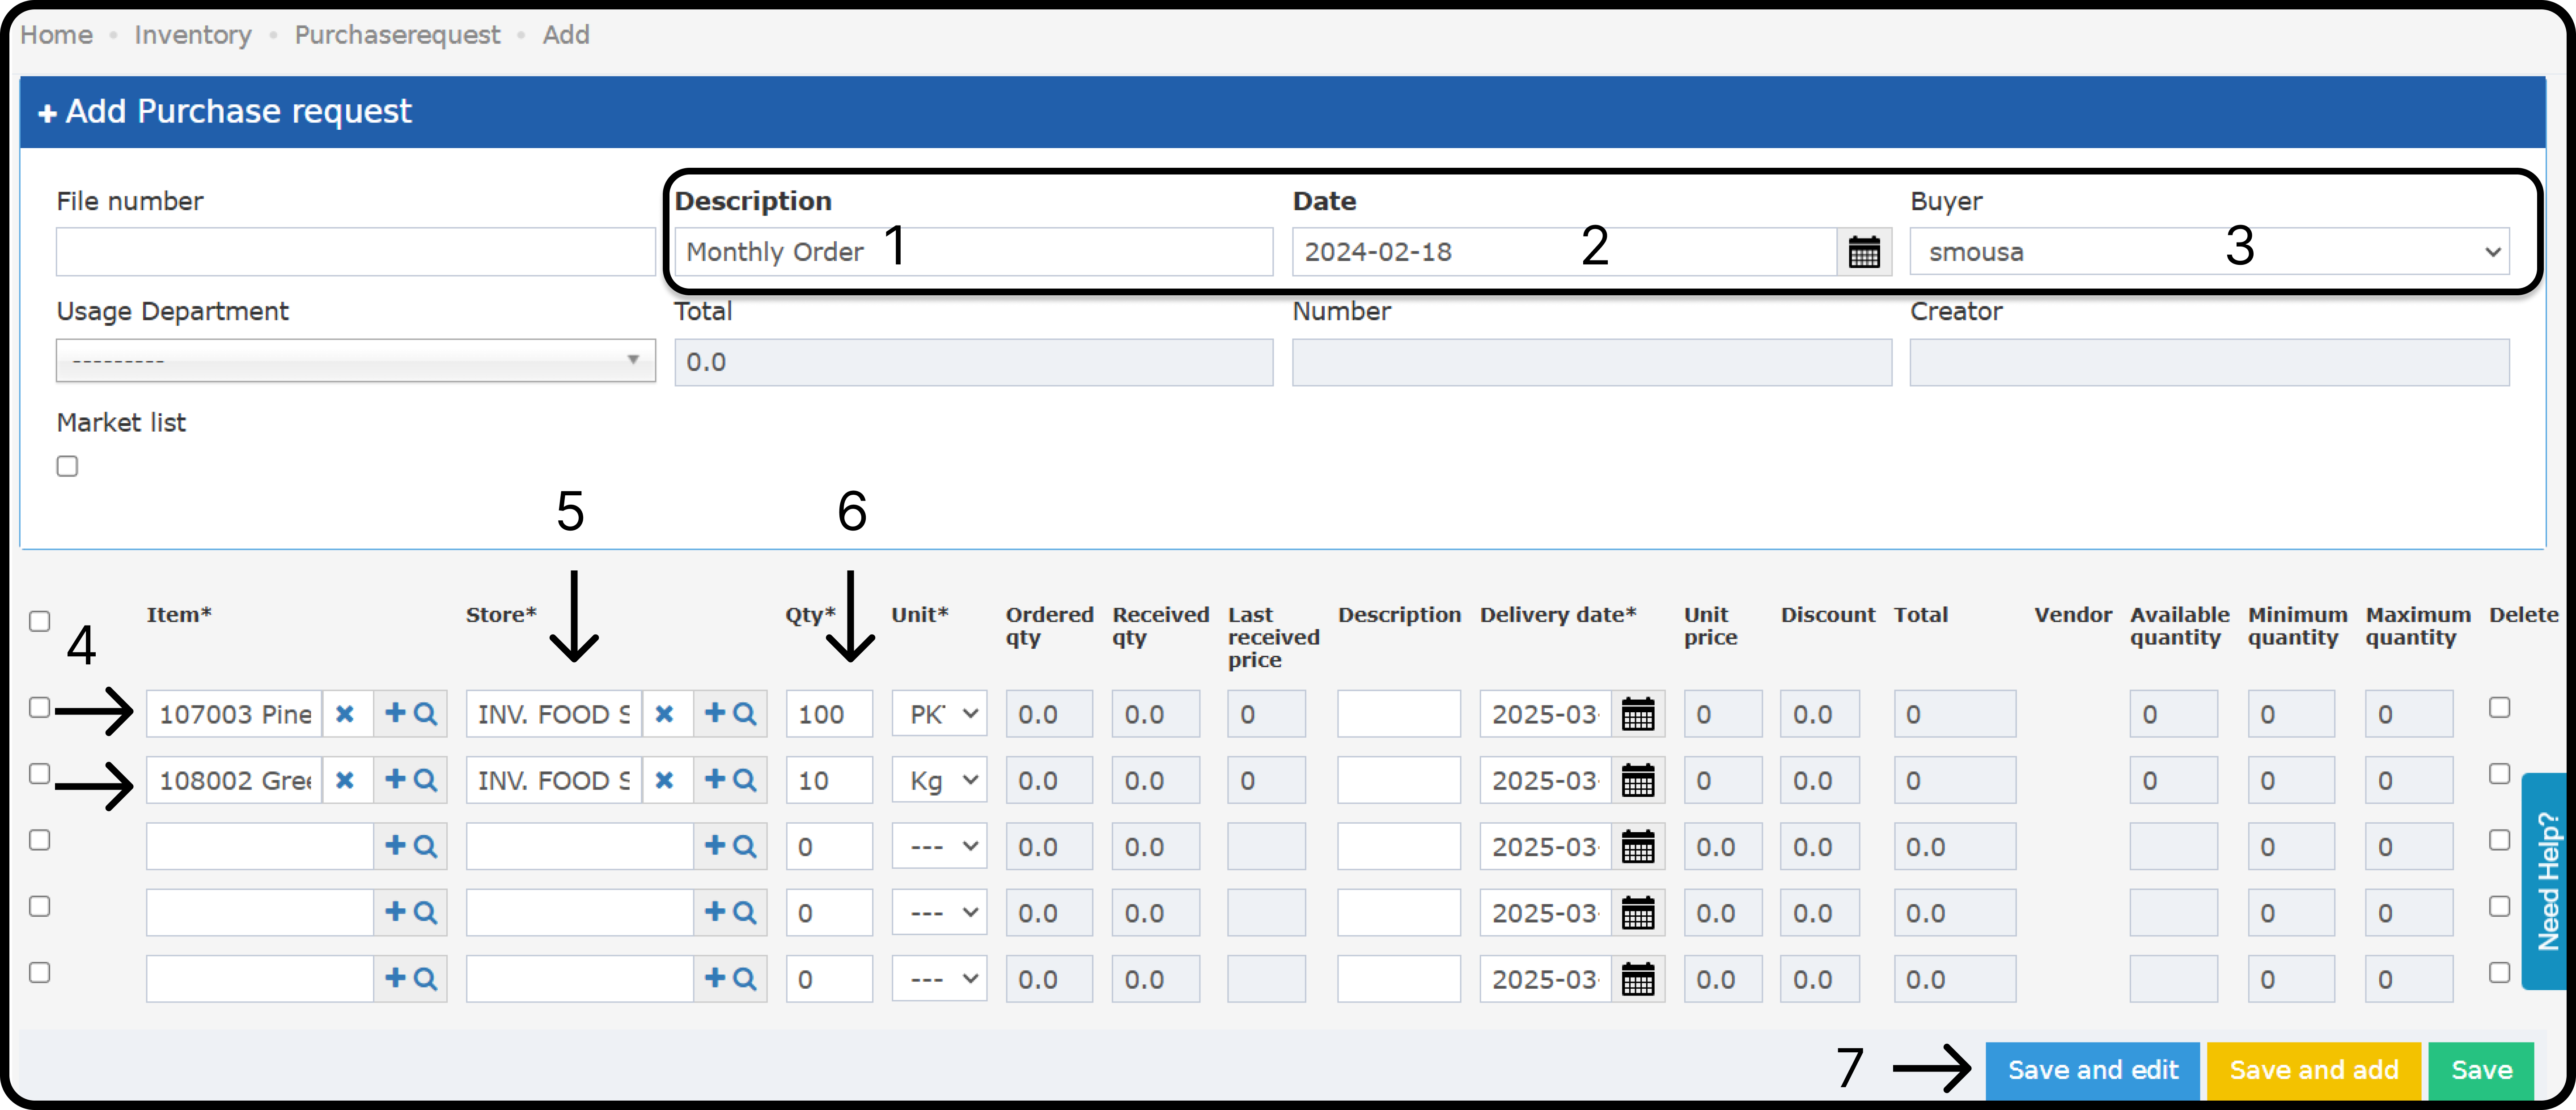
- Add a Description, for example “Monthly order”.
- Add the Date.
- Select the cost control Buyer. The buyer sets item prices and chooses vendors.
- Add each item on its own line.
- Choose the store that will receive the items.
- Enter the quantity for each item.
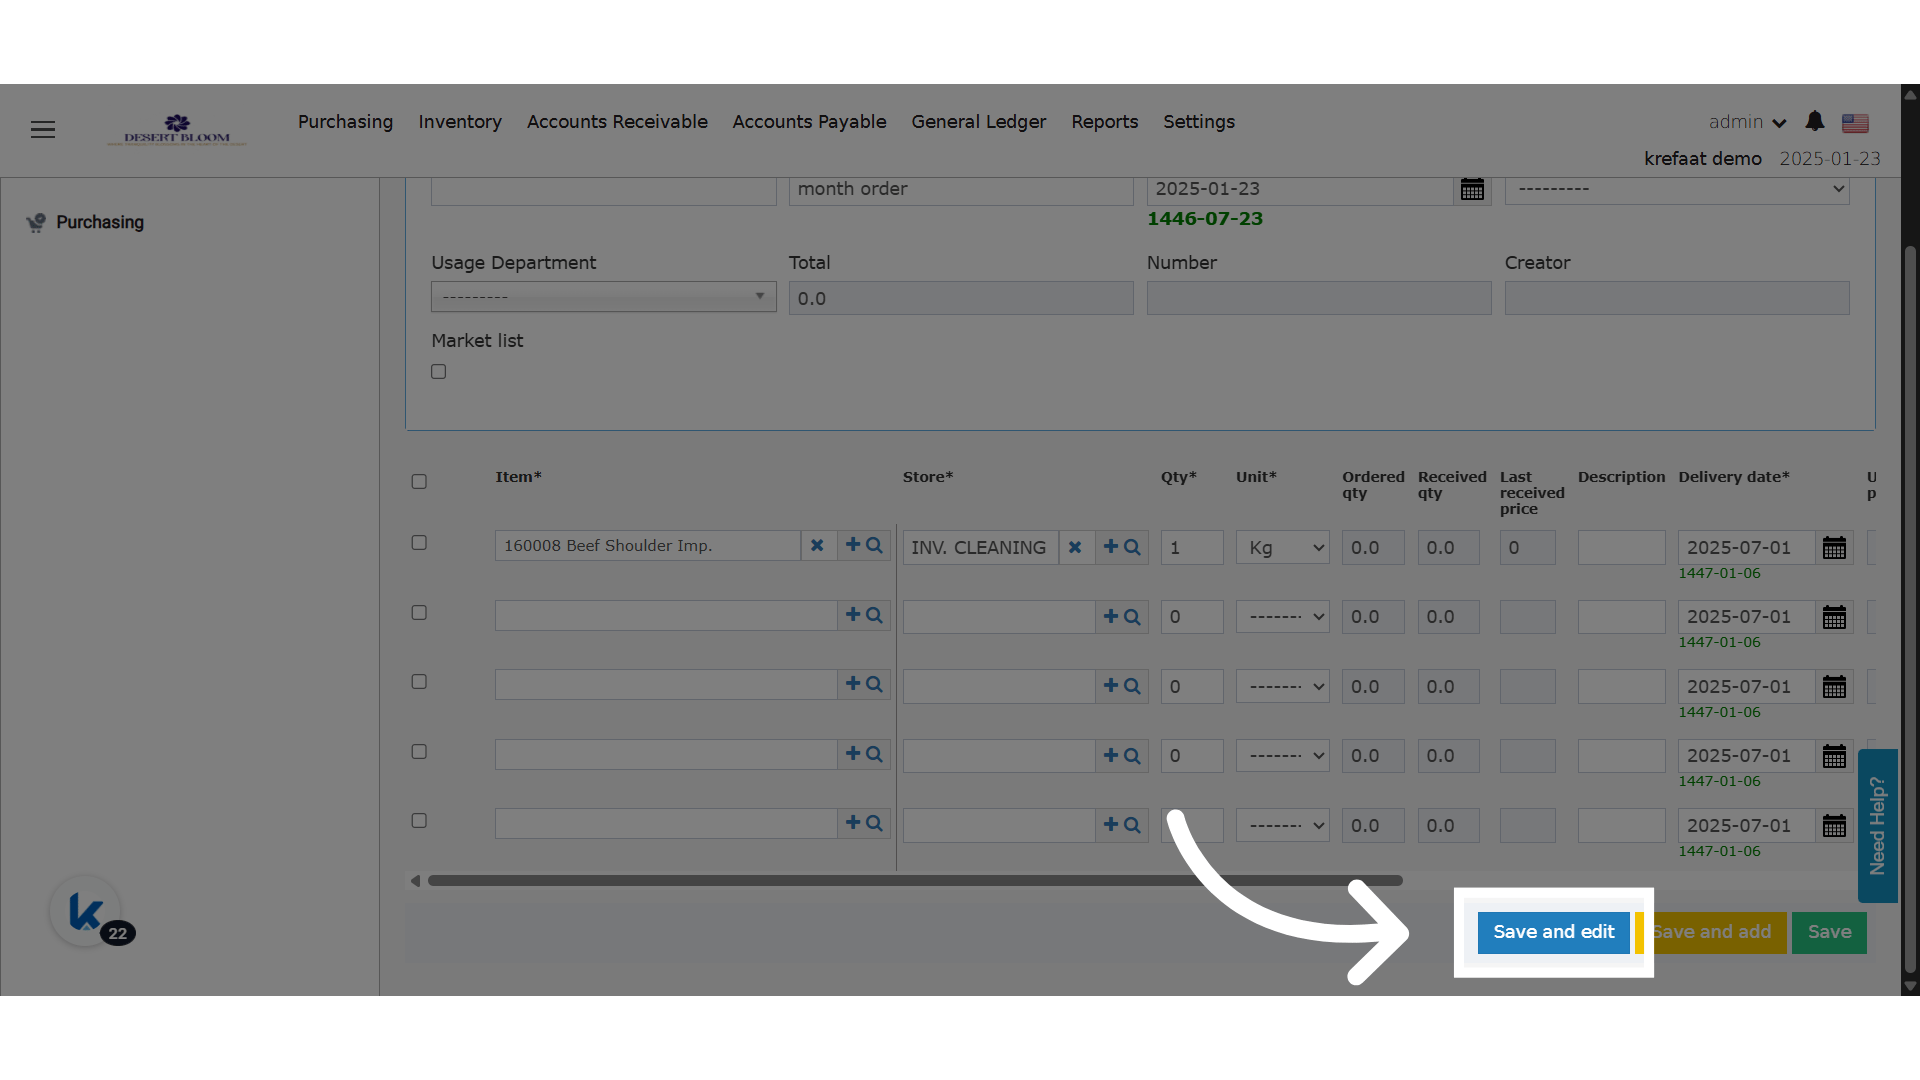
- Click Save and edit.
Item Description
You can add a description to each item line.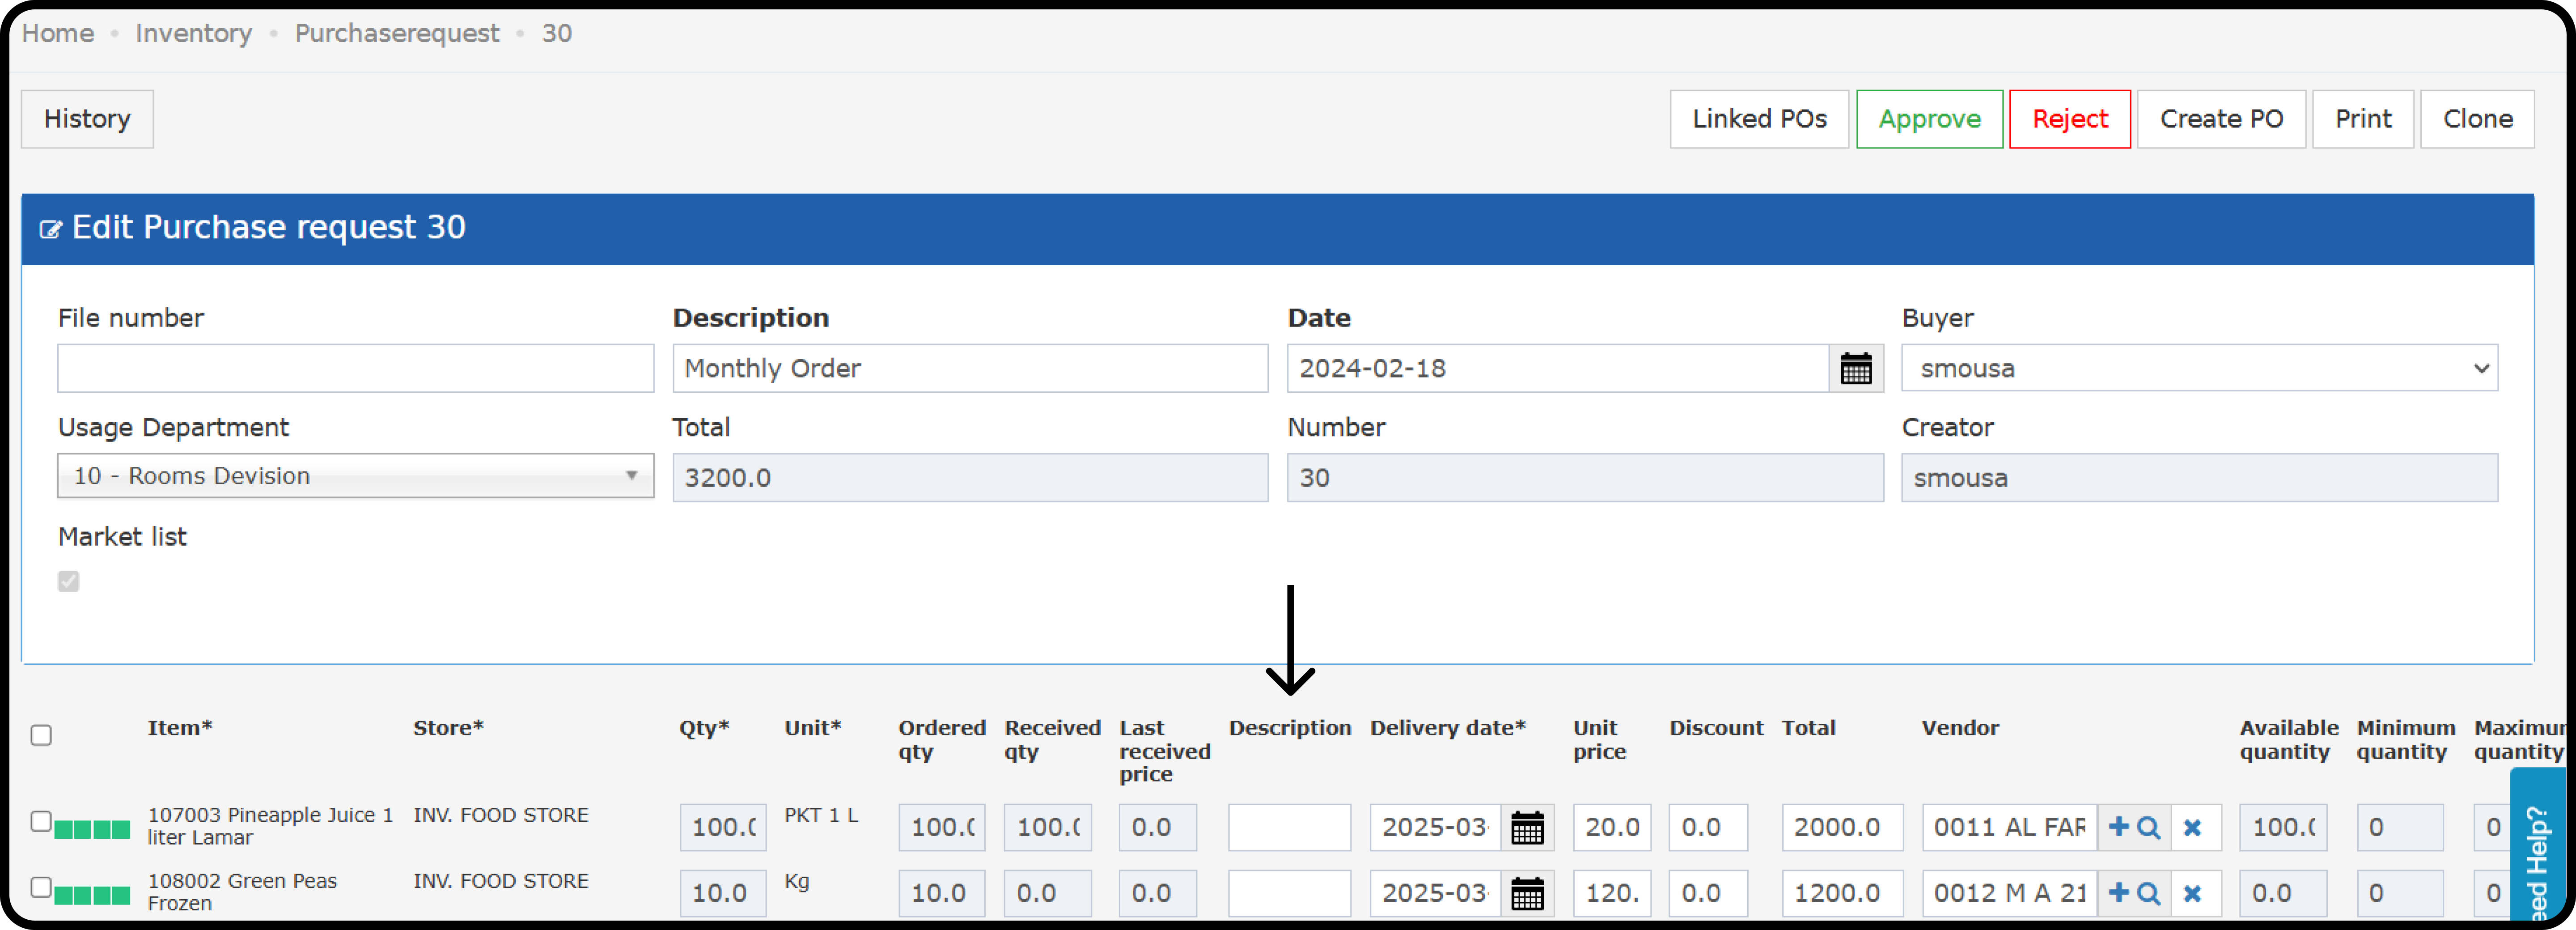
Draft and Submit
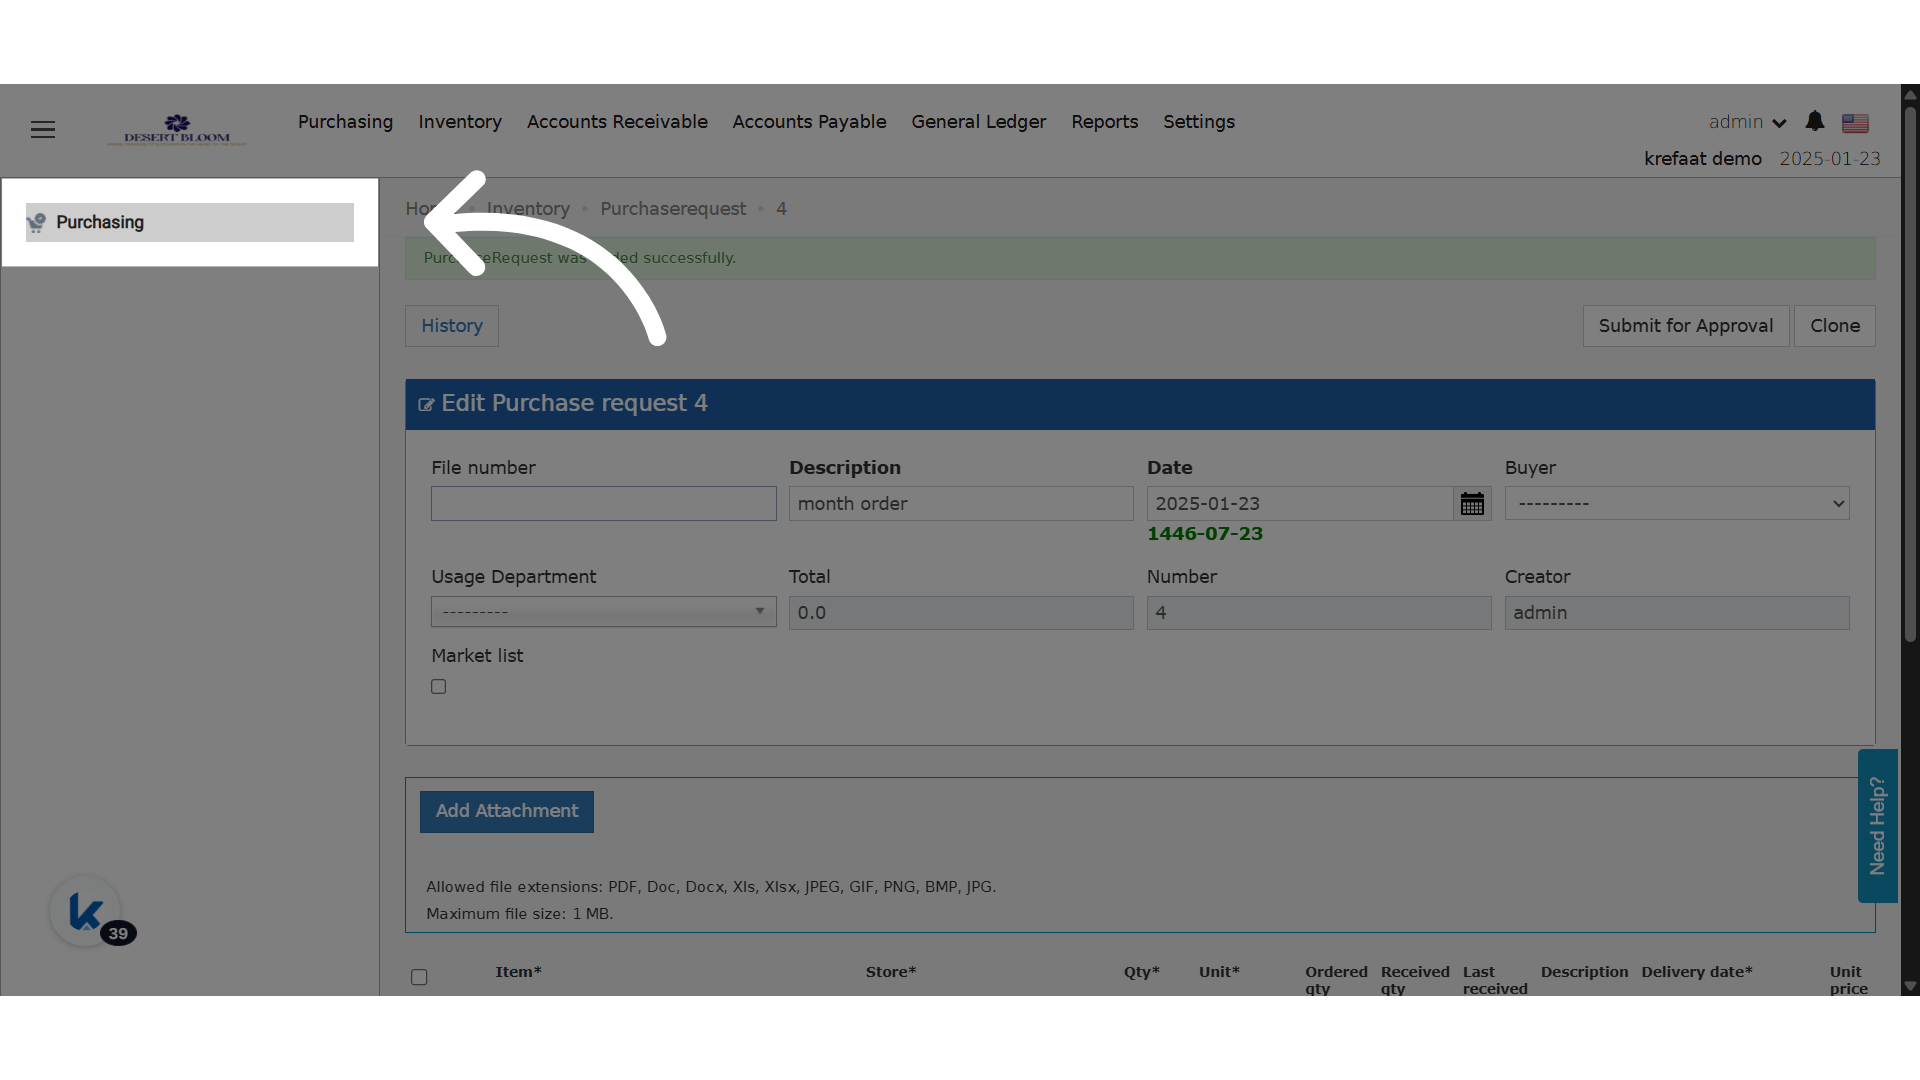
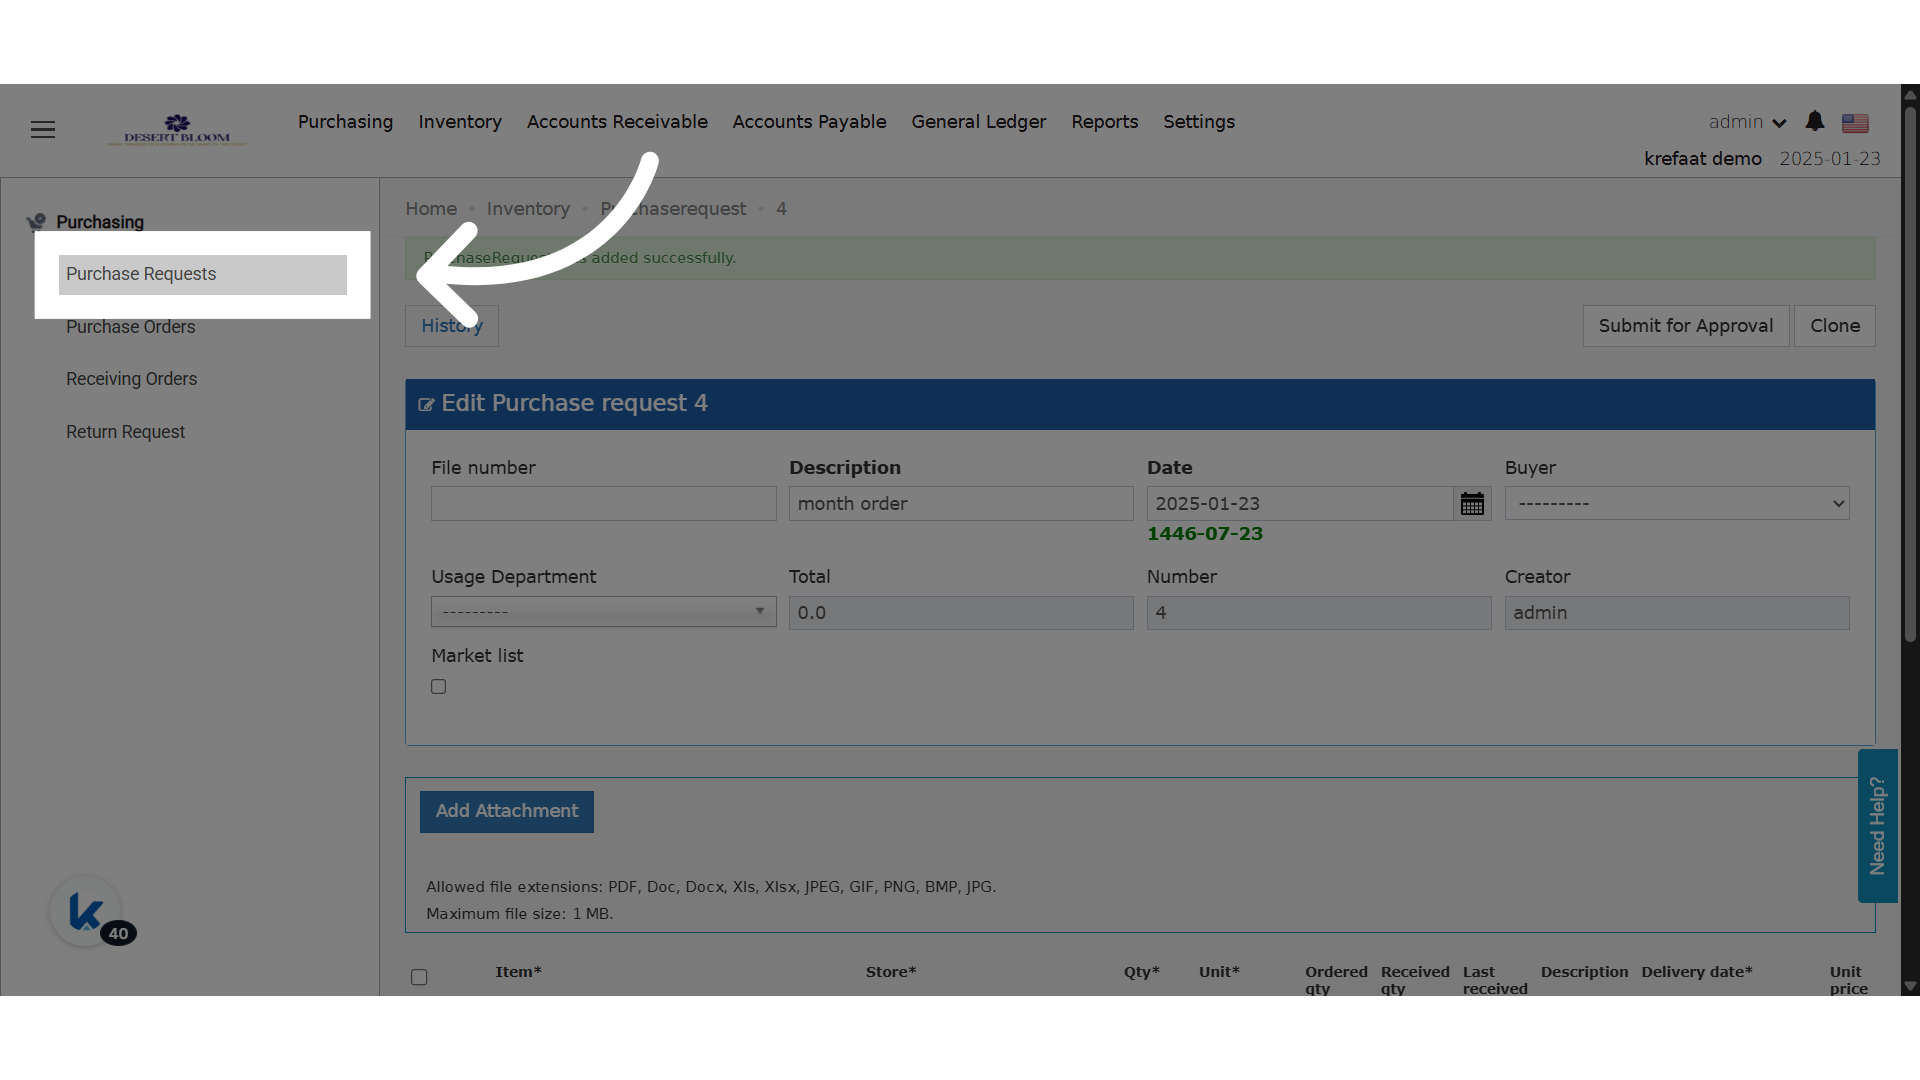
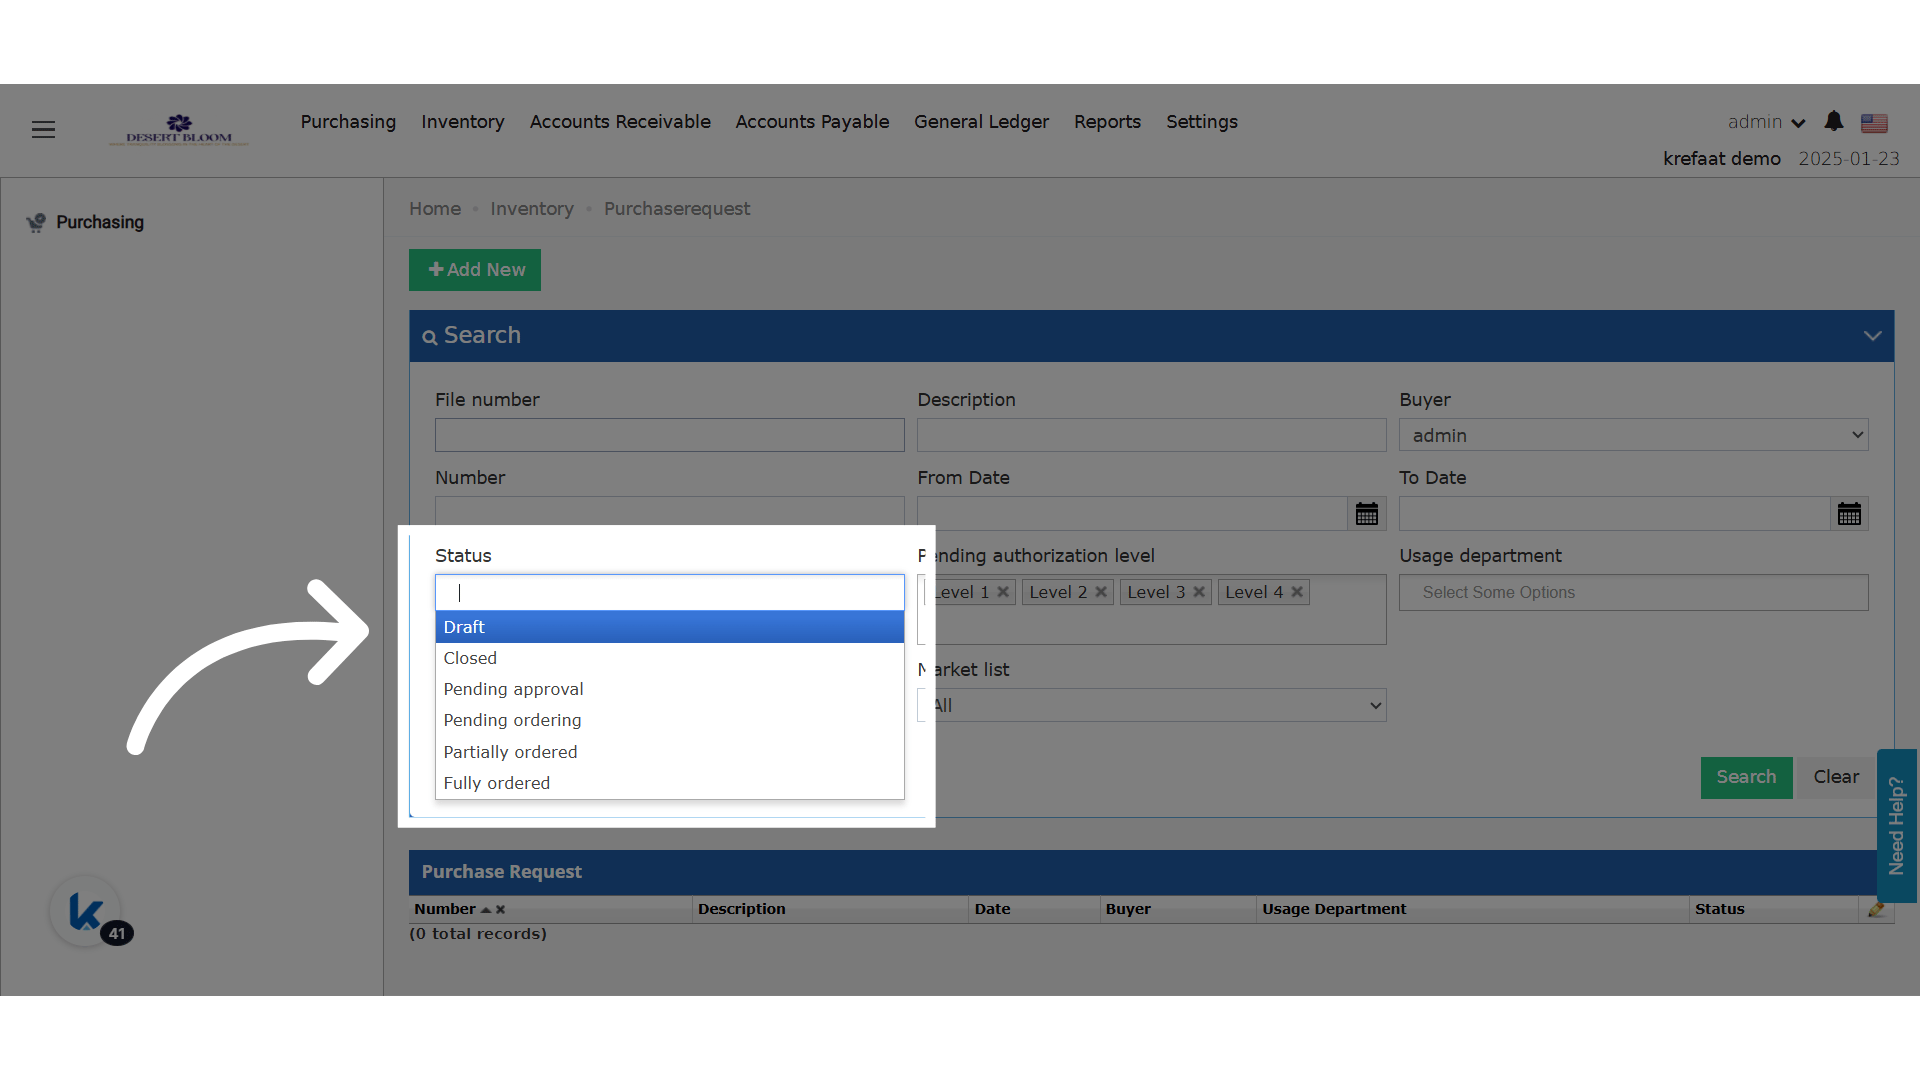
A saved request starts as Draft.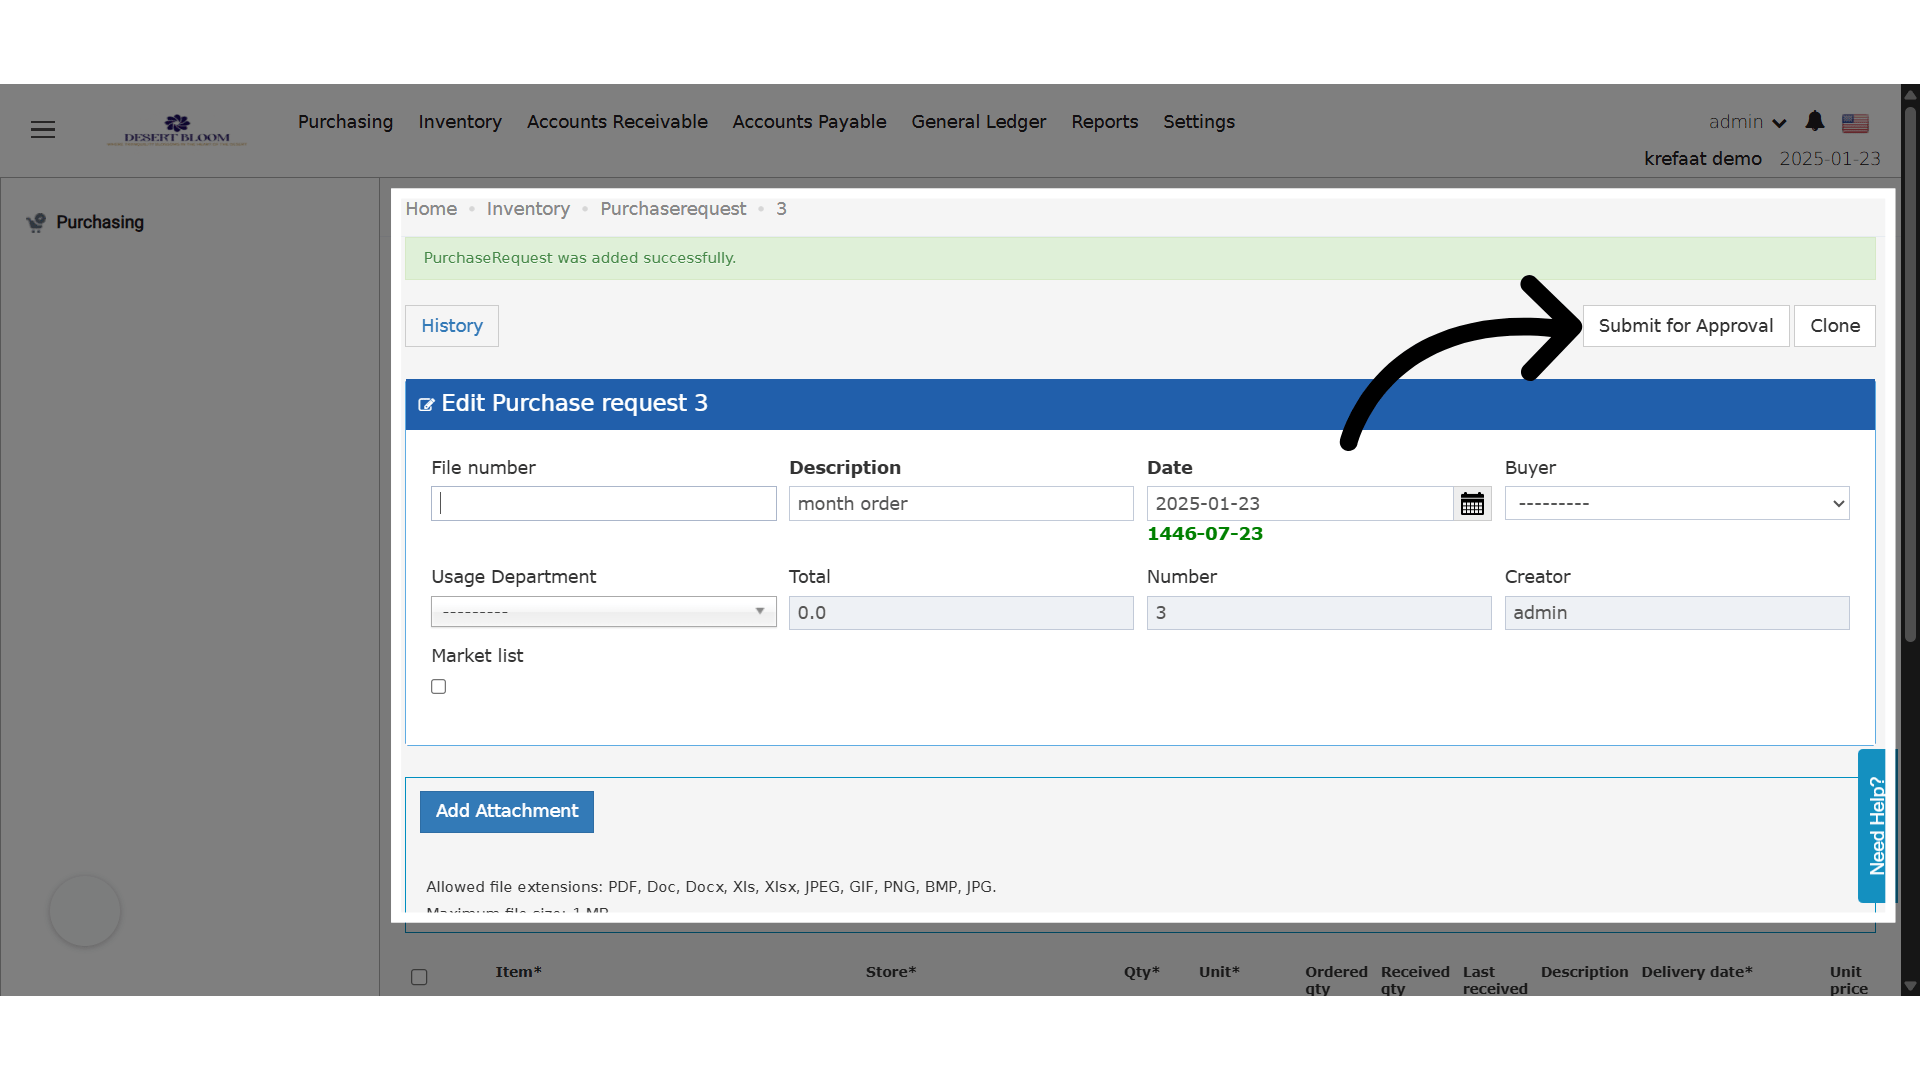
- In Draft, only Submit for Approval shows.
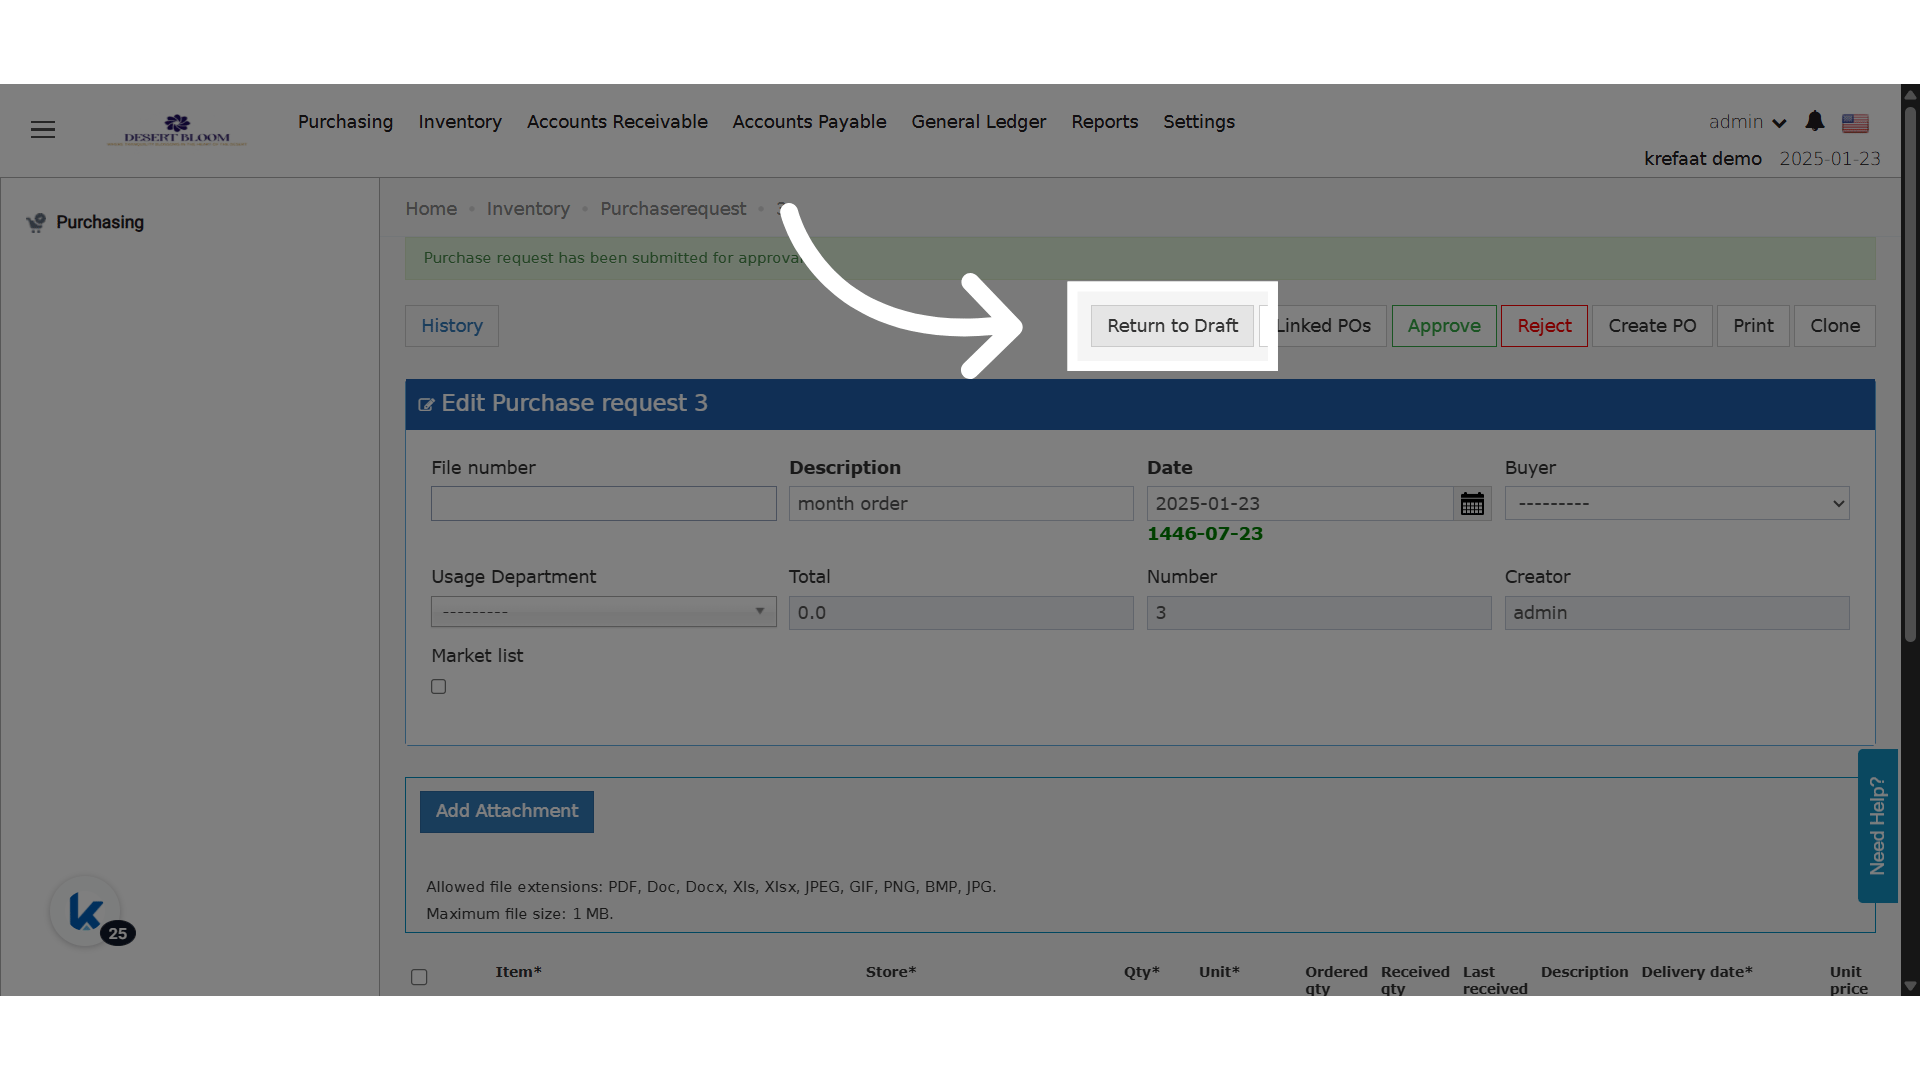
- Submit for Approval moves the request to Pending. Then Approve, Reject and Create PO show.
- Return to Draft shows only while no action has been taken in Pending.
- Only the request’s creator can Submit for Approval or Return to Draft.
- You cannot return a request to draft if it has approved items.
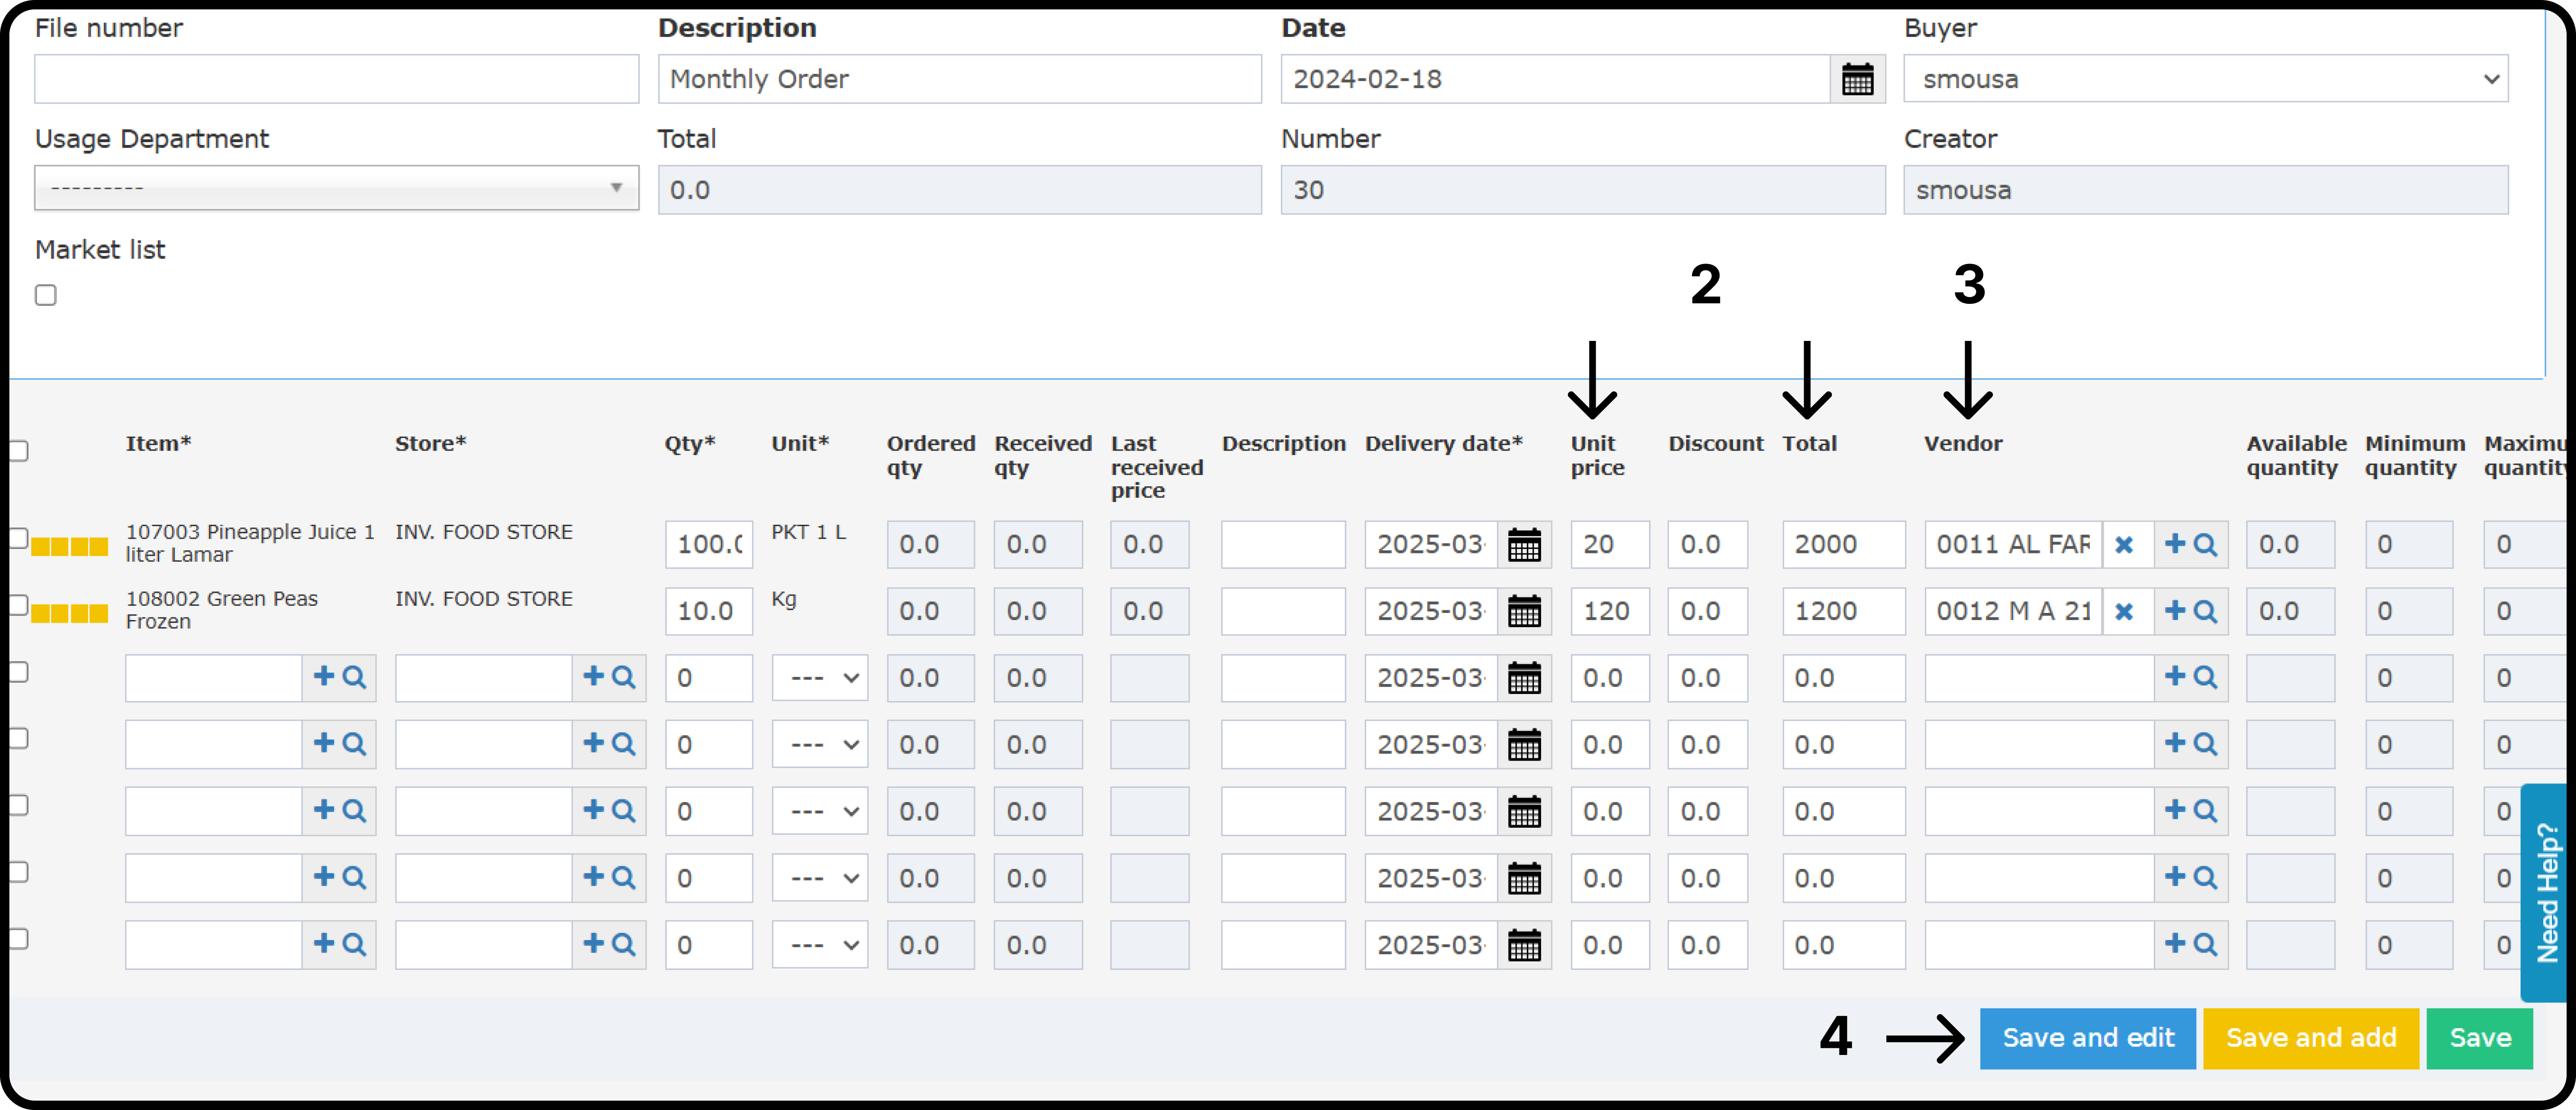
- Unit Price
- Discount
- Total
- Vendor
The Buyer Adds Prices and Vendors
- Open the purchase request.
- Enter the total price or the unit price. The other one is worked out for you.
- Set a vendor on each line.
- Click Save and edit.
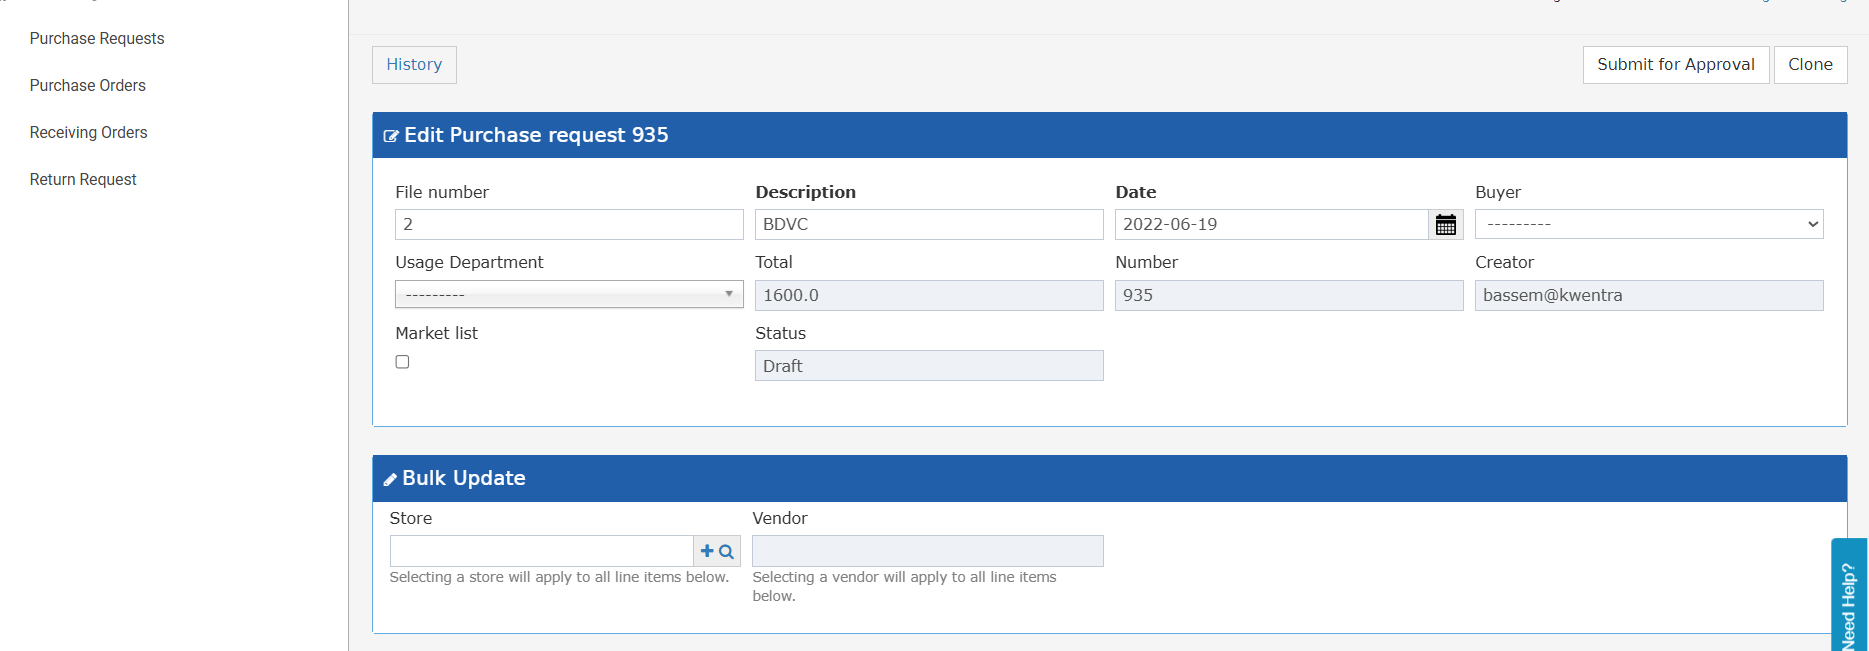
Bulk Update Store and Vendor
The Bulk Update section on the request header has two fields.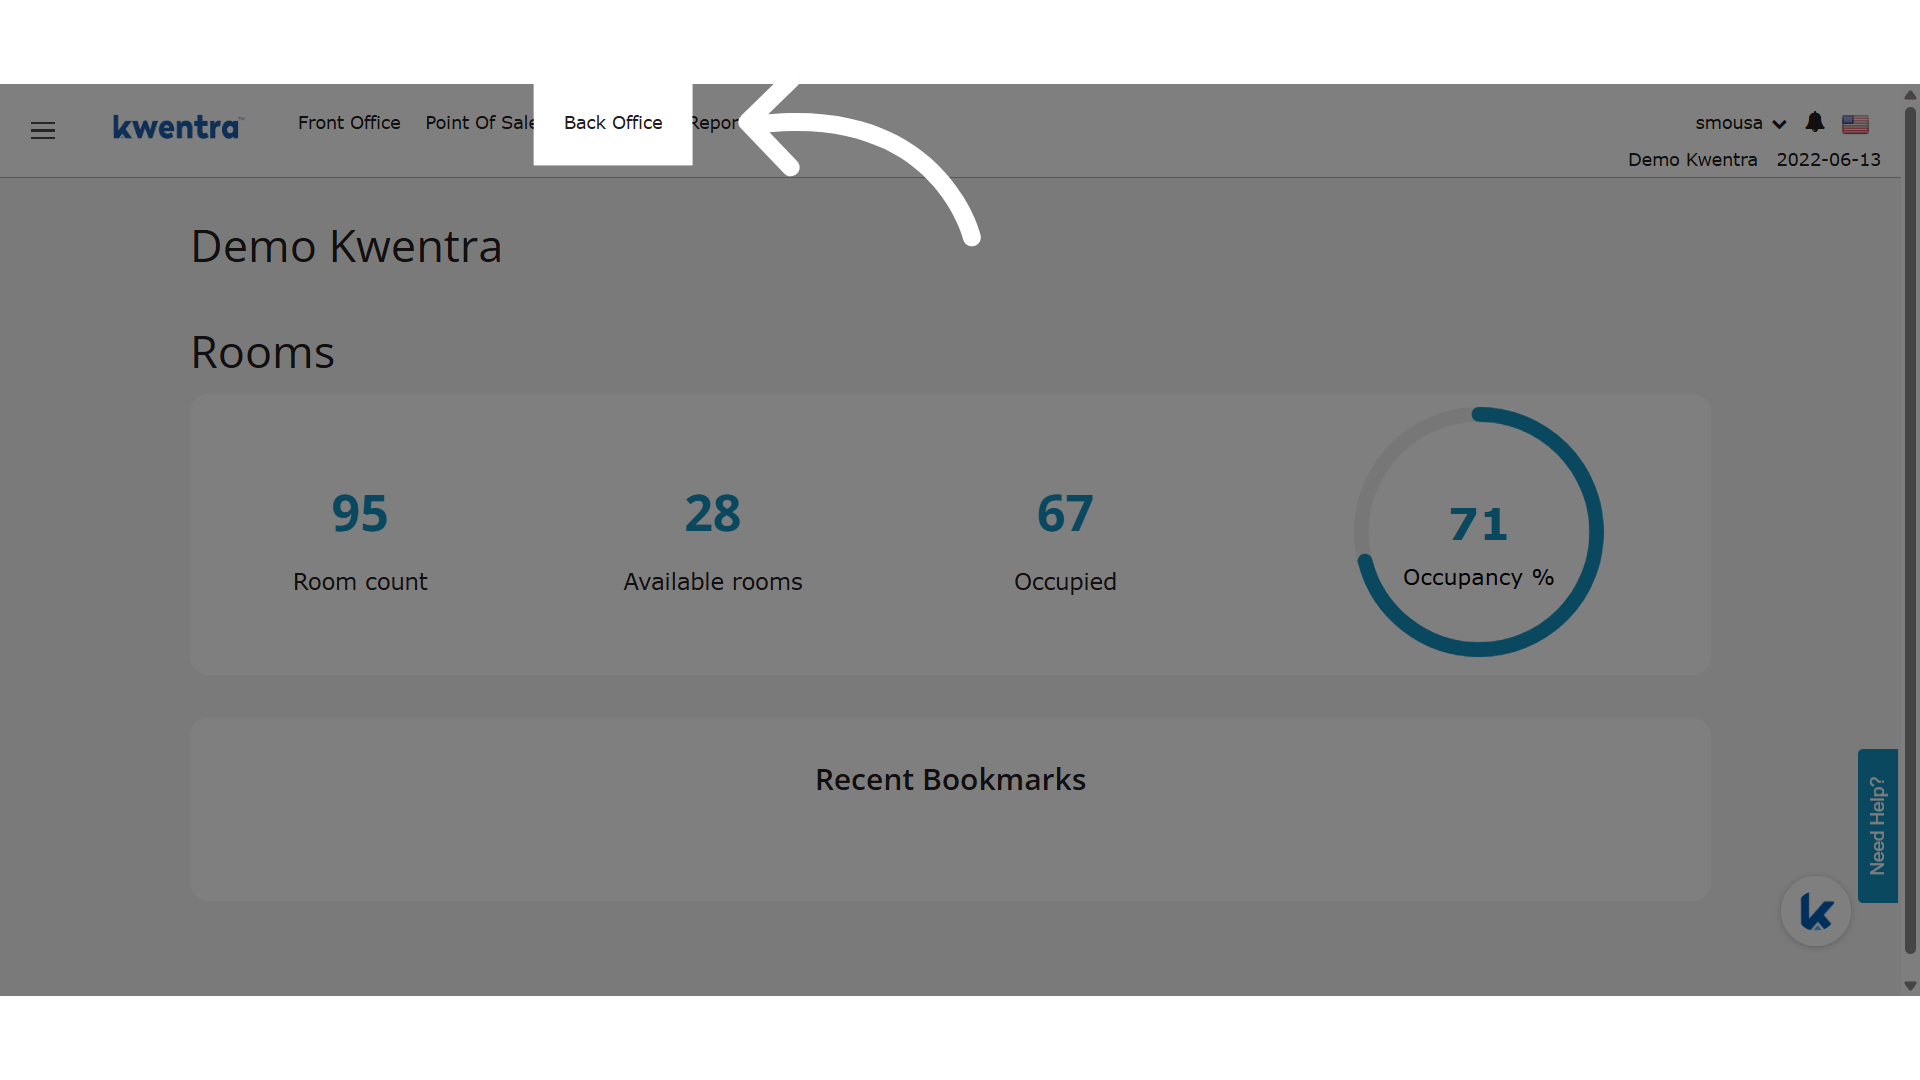
Store
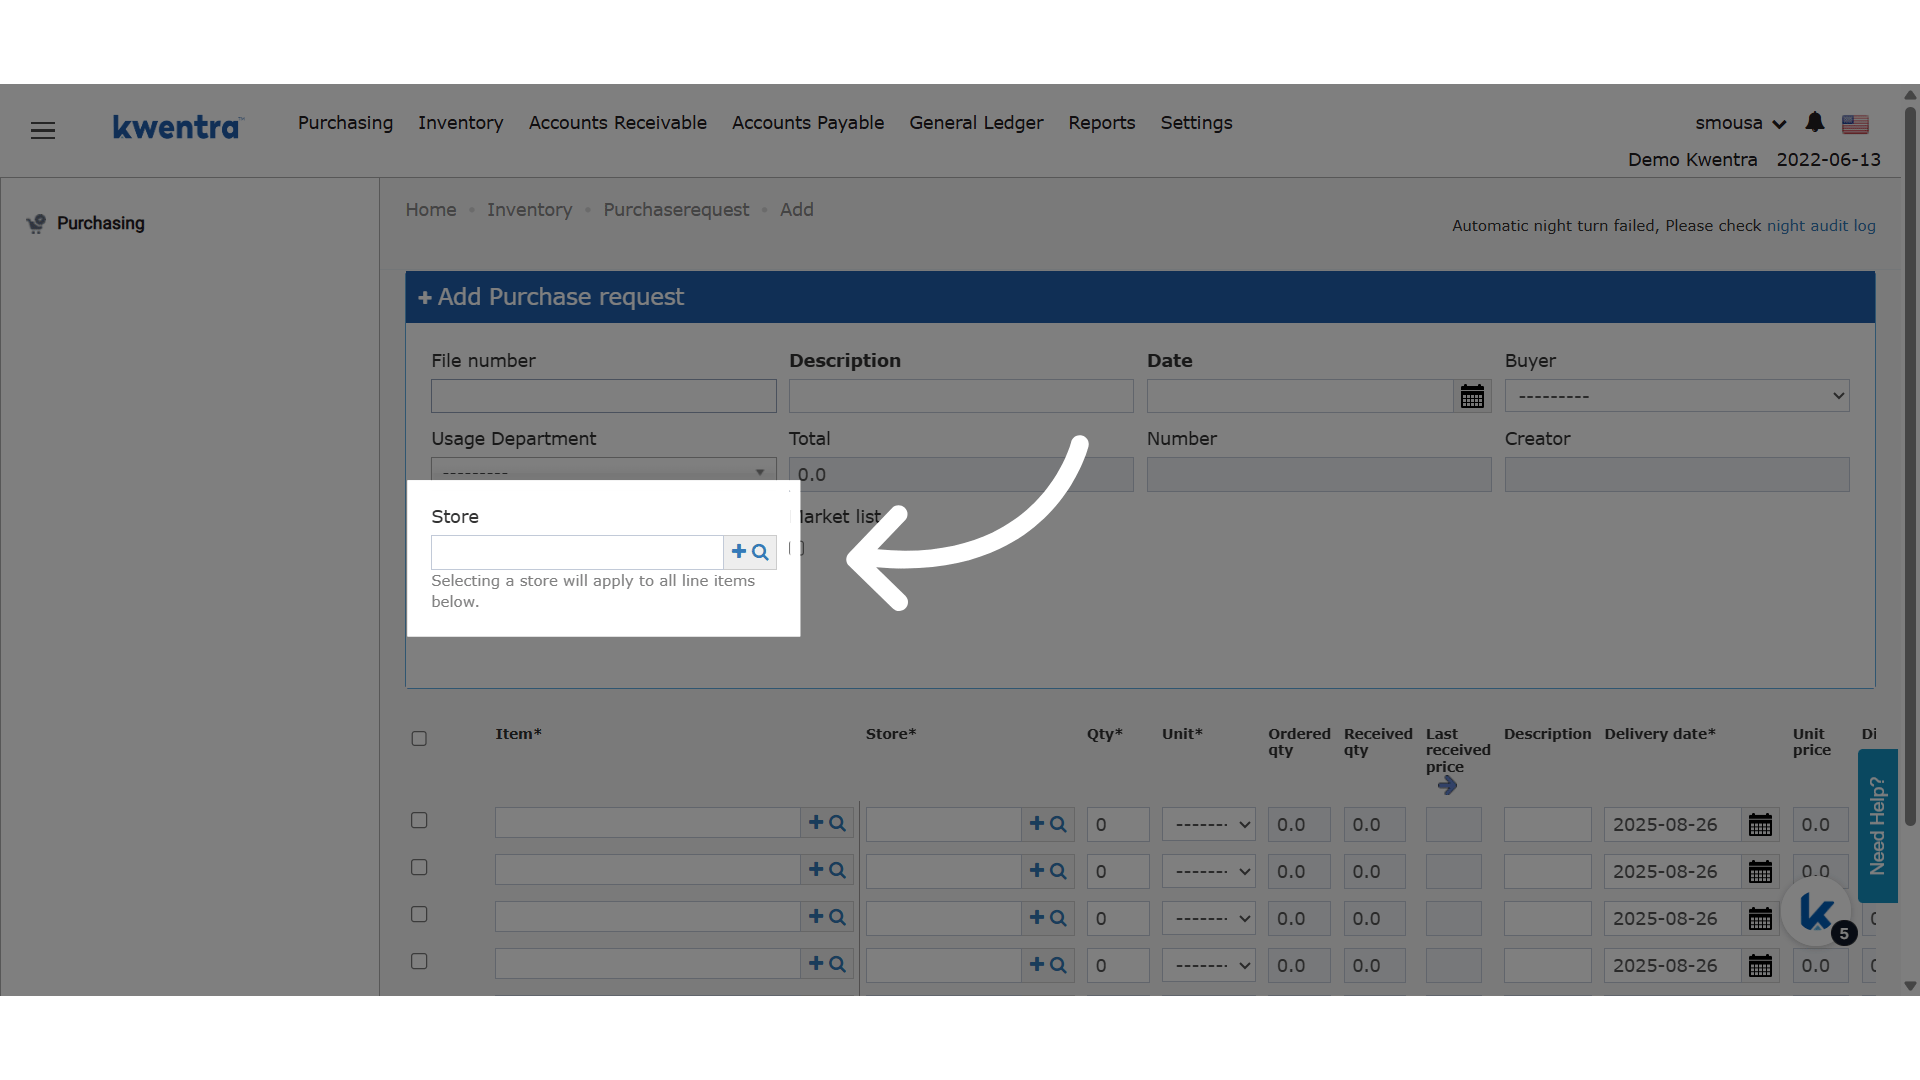
- Set before adding items: each item you add takes that store, even if it has a default receiving store.
- Set or changed after adding items: every line changes to that store right away. Lines that had a store change too.
- Items added after a change take the new store.
- The help text says “Selecting a store will apply to all line items below.”
- It works like the From Store field on the Store Usage screen.
- After you set a header store, each line’s Item picker lists only items linked to that store.
- Items not linked to any store still show on every line.
- Lines added later follow the same filter while the header store is set.
- Items already picked on a line stay as they are.
Vendor
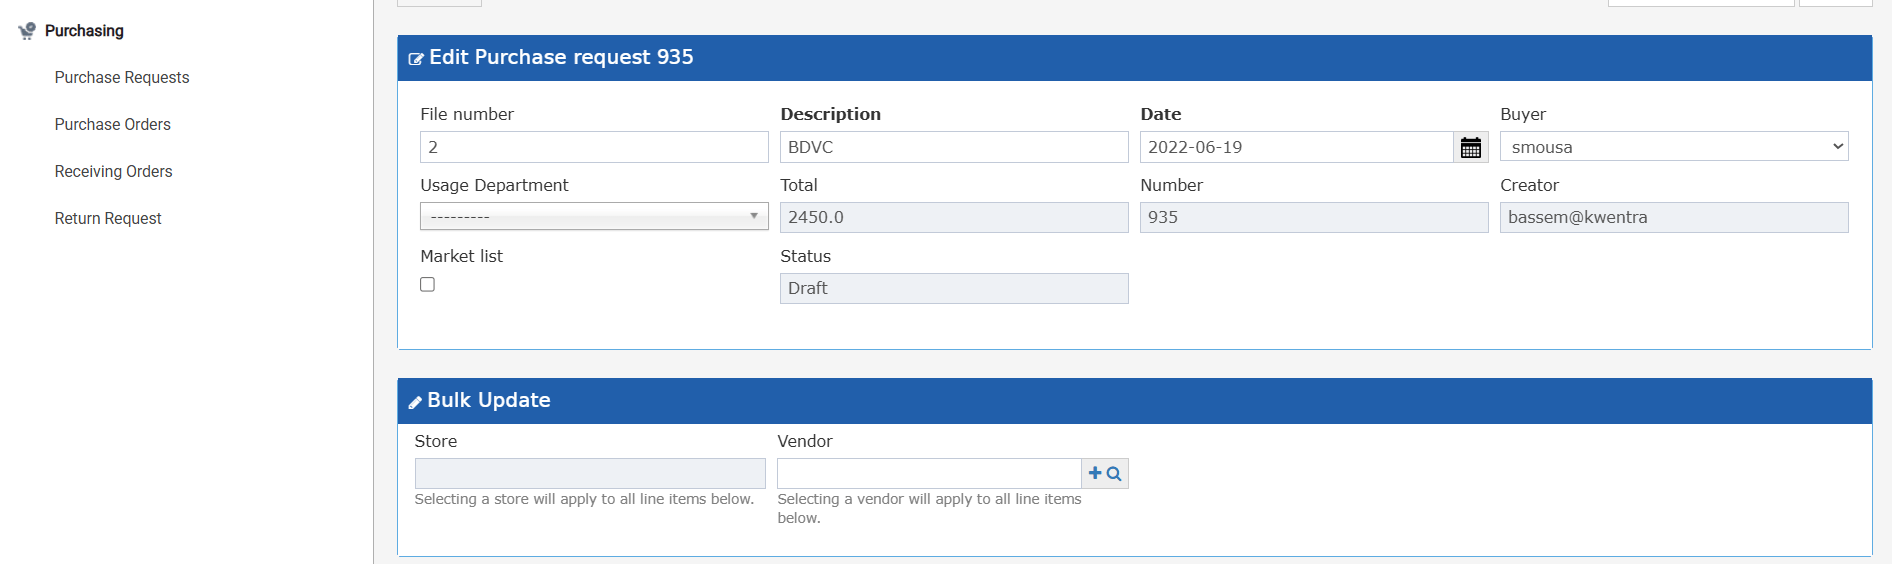
- The vendor you set applies to every current line right away.
- Only the buyer assigned to the request can edit it. The same rule applies to the vendor on each line.
Usage Department
A request has a department field. It tracks spending for each division.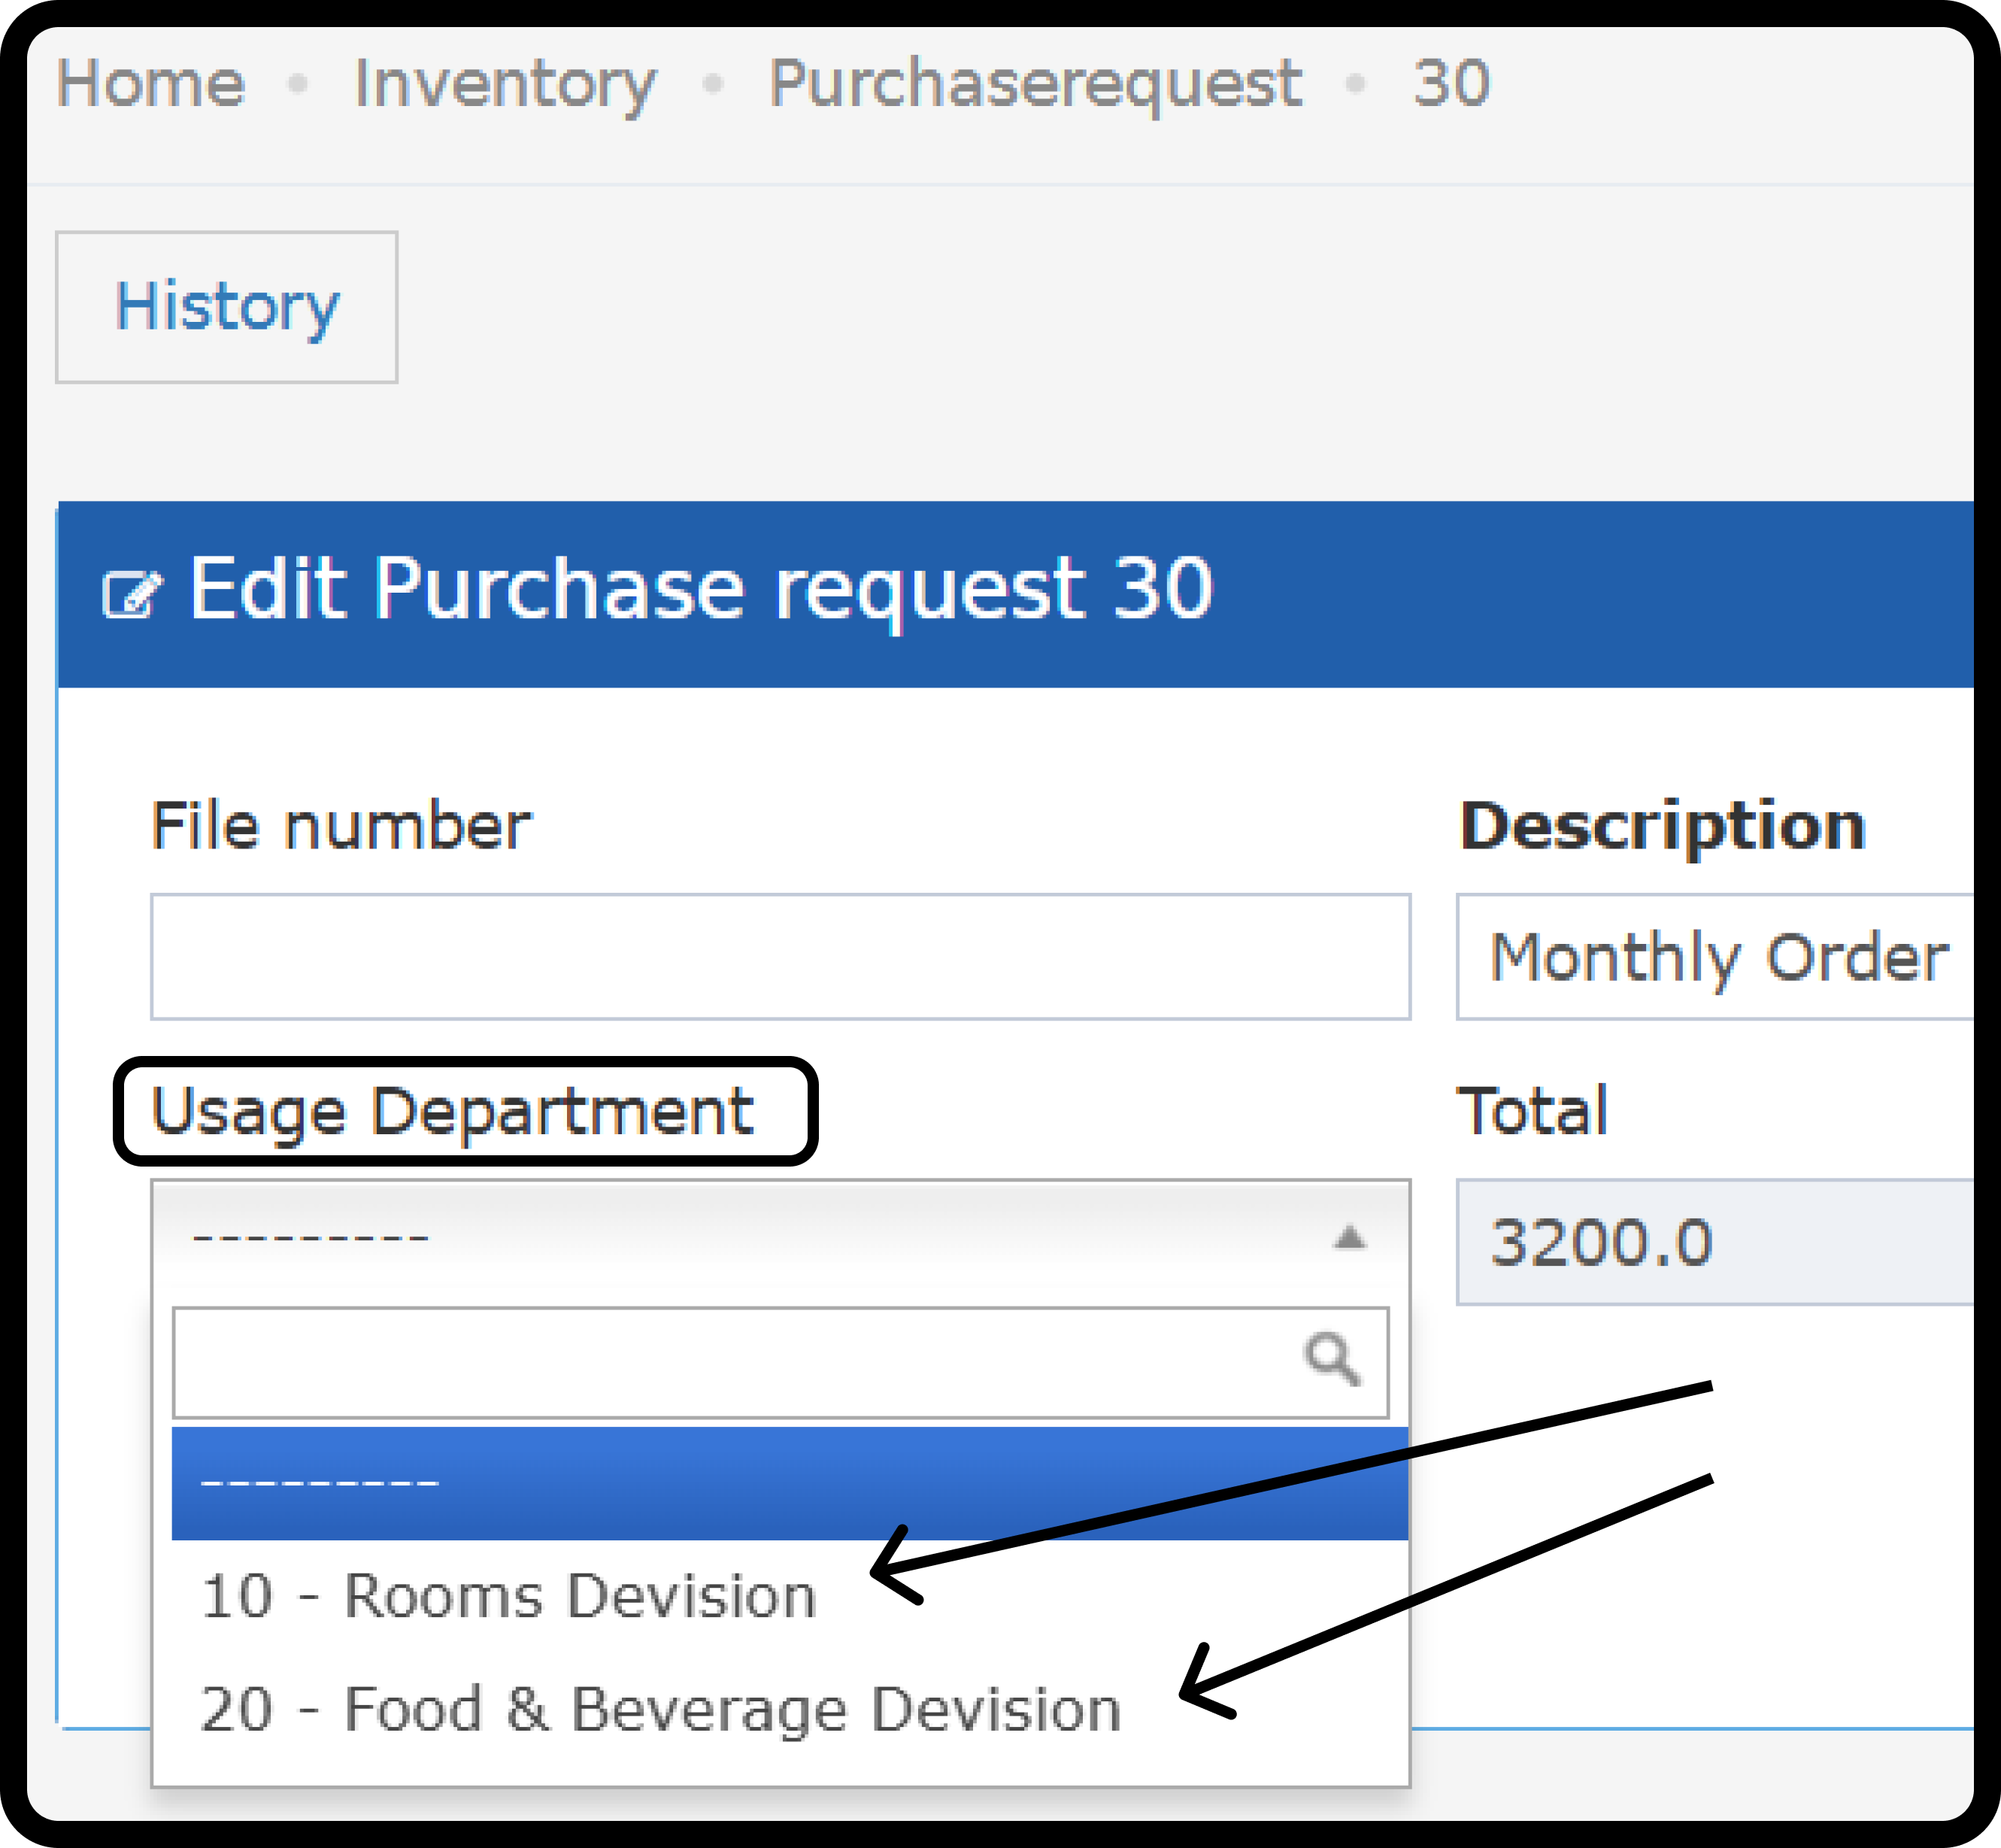
- A requester adds one usage department per request.
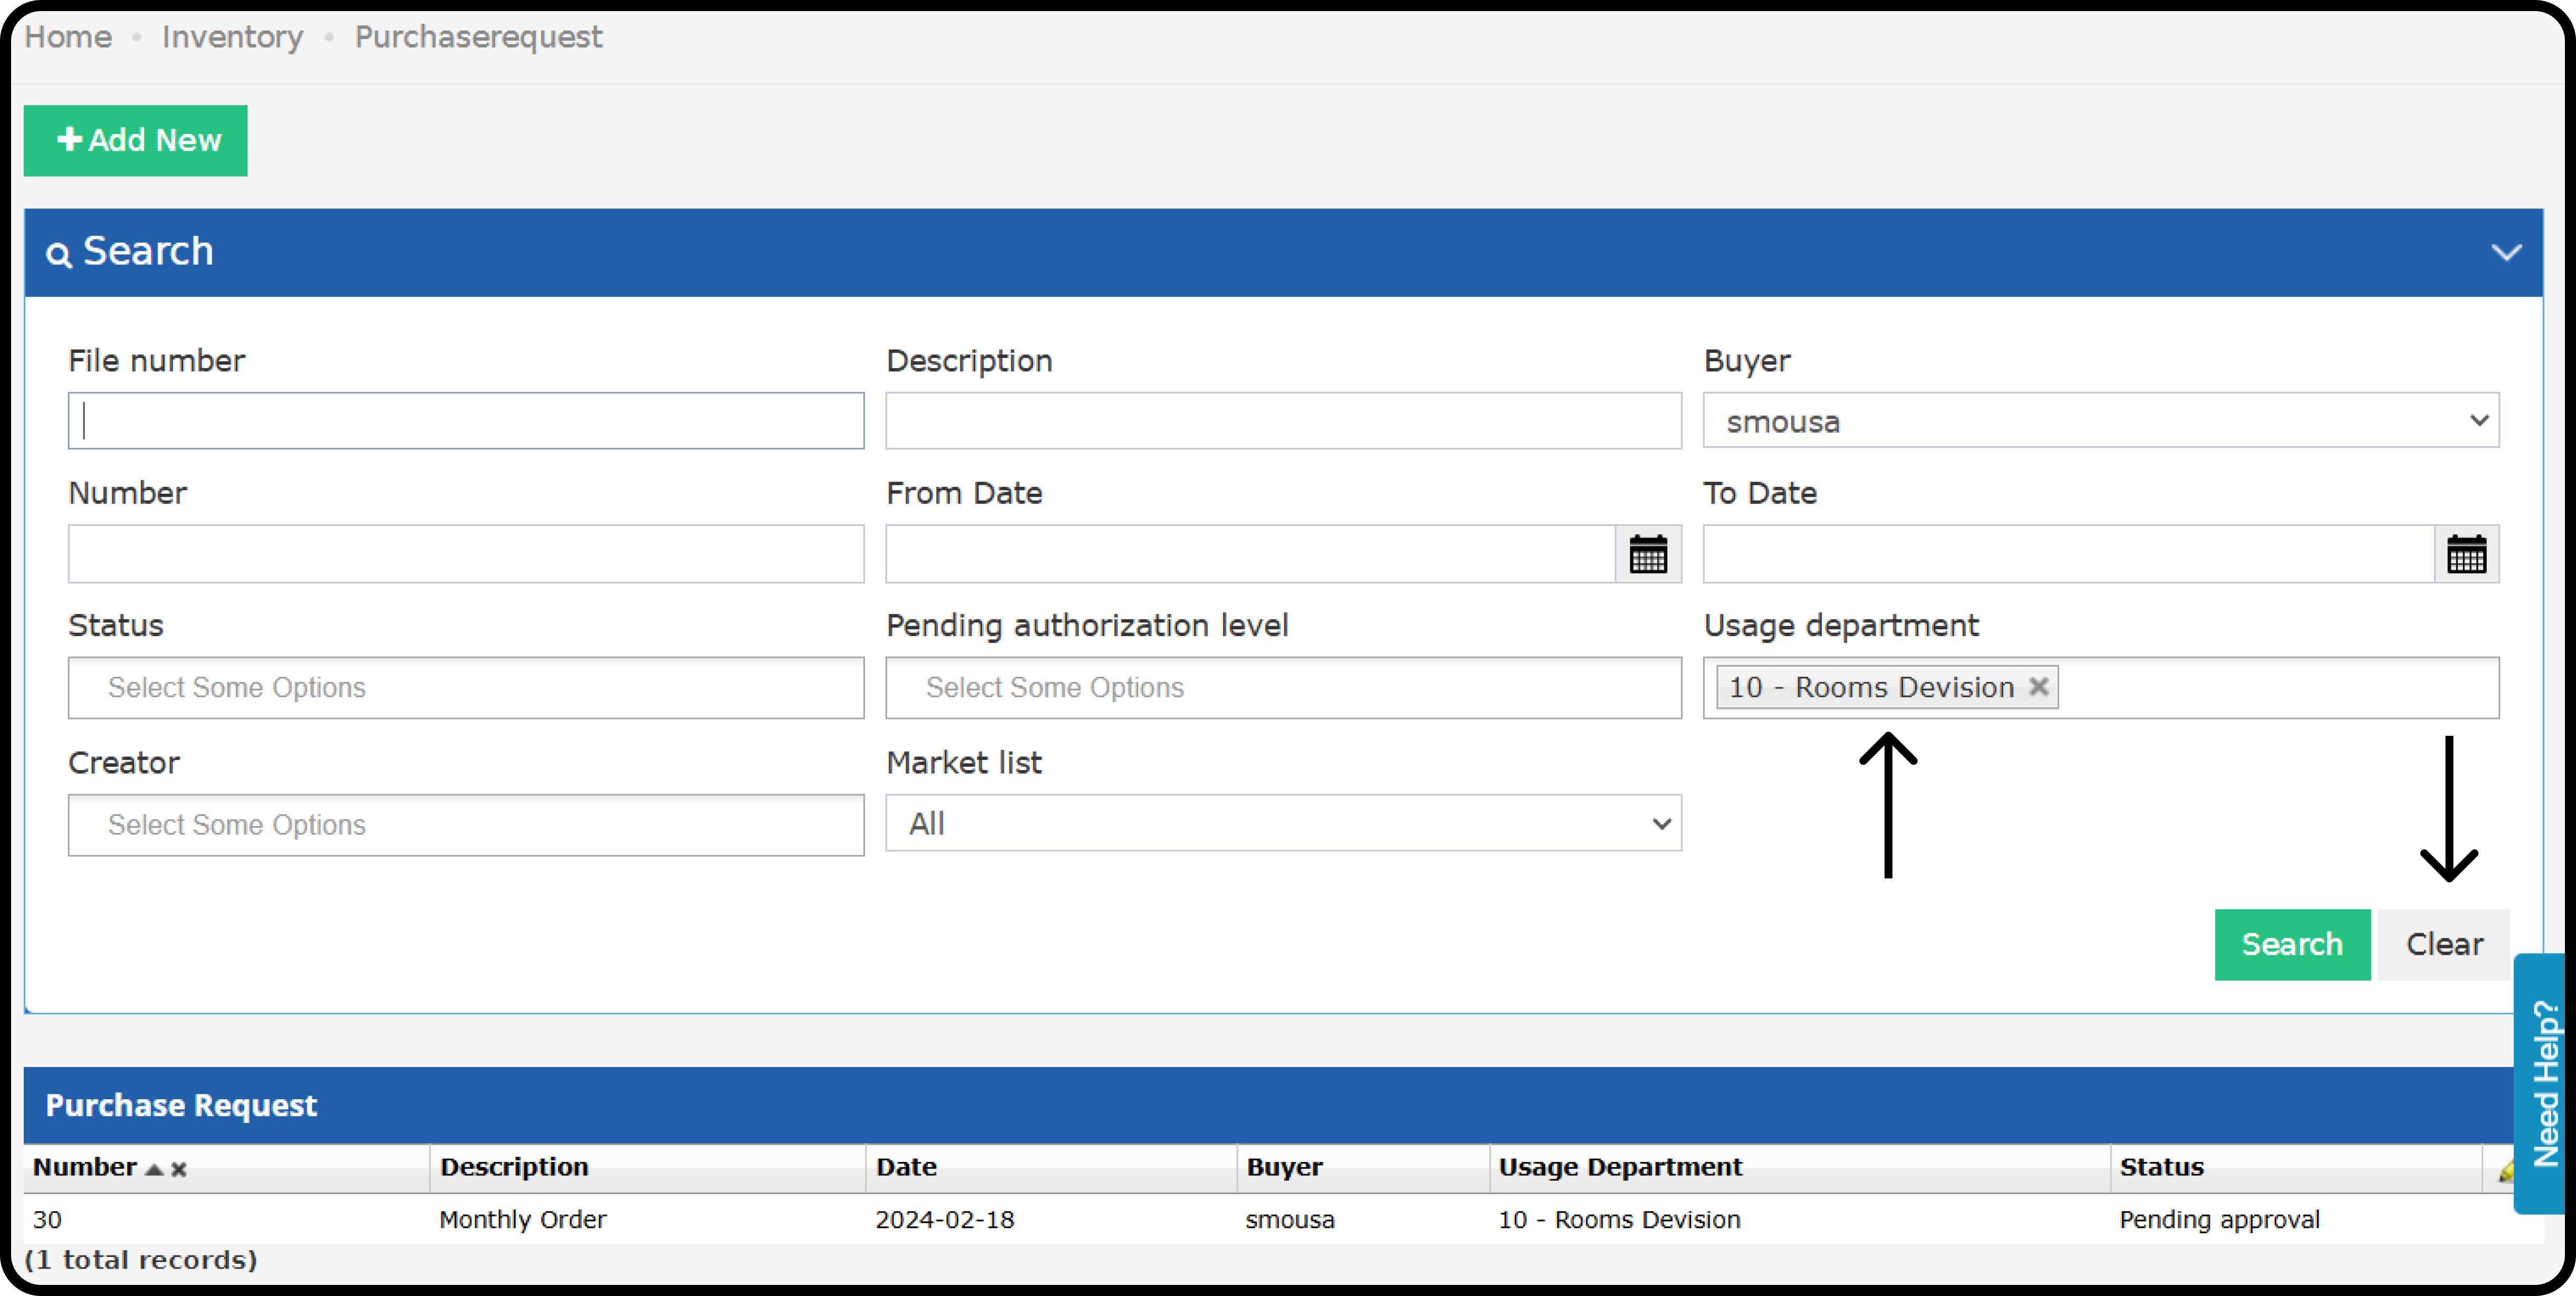
- Requesters can add requests only for usage departments linked to their divisions.
- Requesters see only the requests for their usage departments, even after resetting the search.
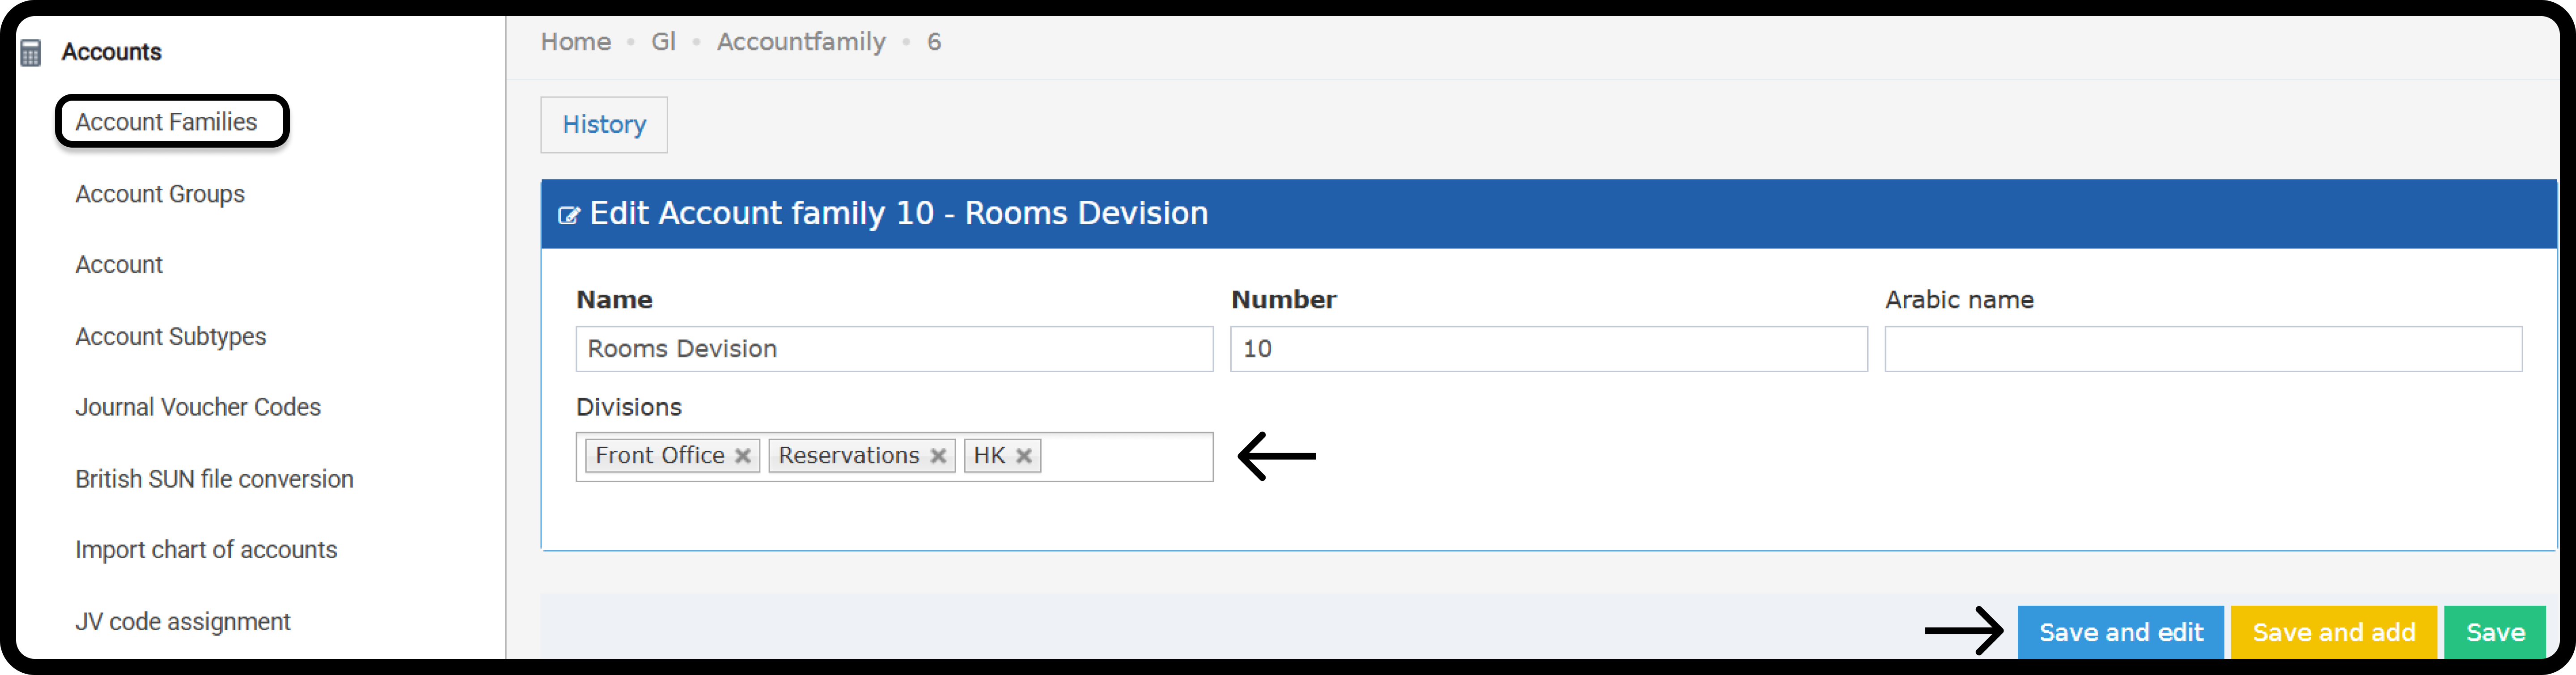
- Add divisions to the account family. You can add more than one.
- Click Save.
Print a Purchase Request
Click print at the top right of the request.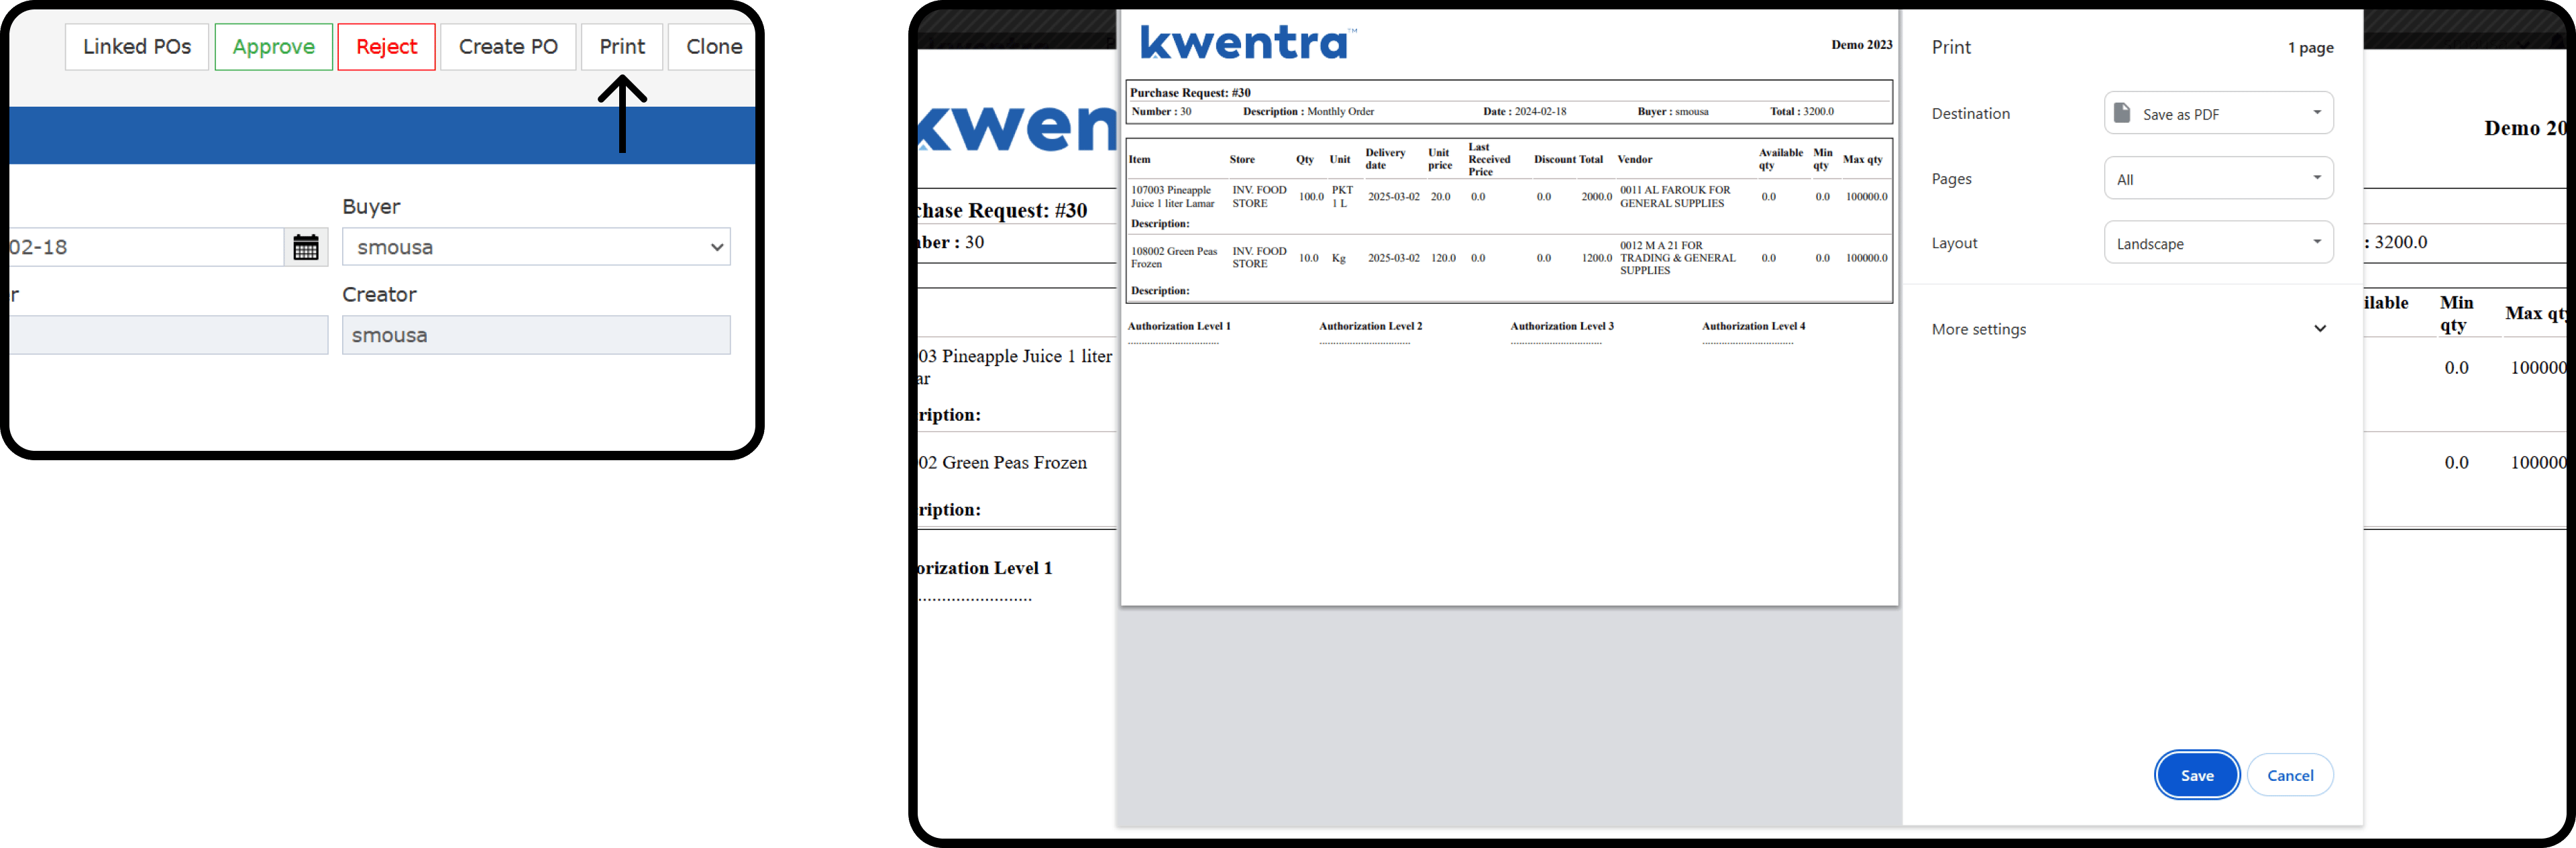
Approve and Reject Items
Approvals Stay When the Vendor or Price Changes
- The creator or buyer can change the vendor or unit price on an item that already has approvals.
- All approvals stay valid and visible. No level is reset.
- Editing any other field follows the normal workflow.
- If you delete an item and add it again, approvals start over.
- Every vendor or price change is saved in the item history.
Reject or Return Items
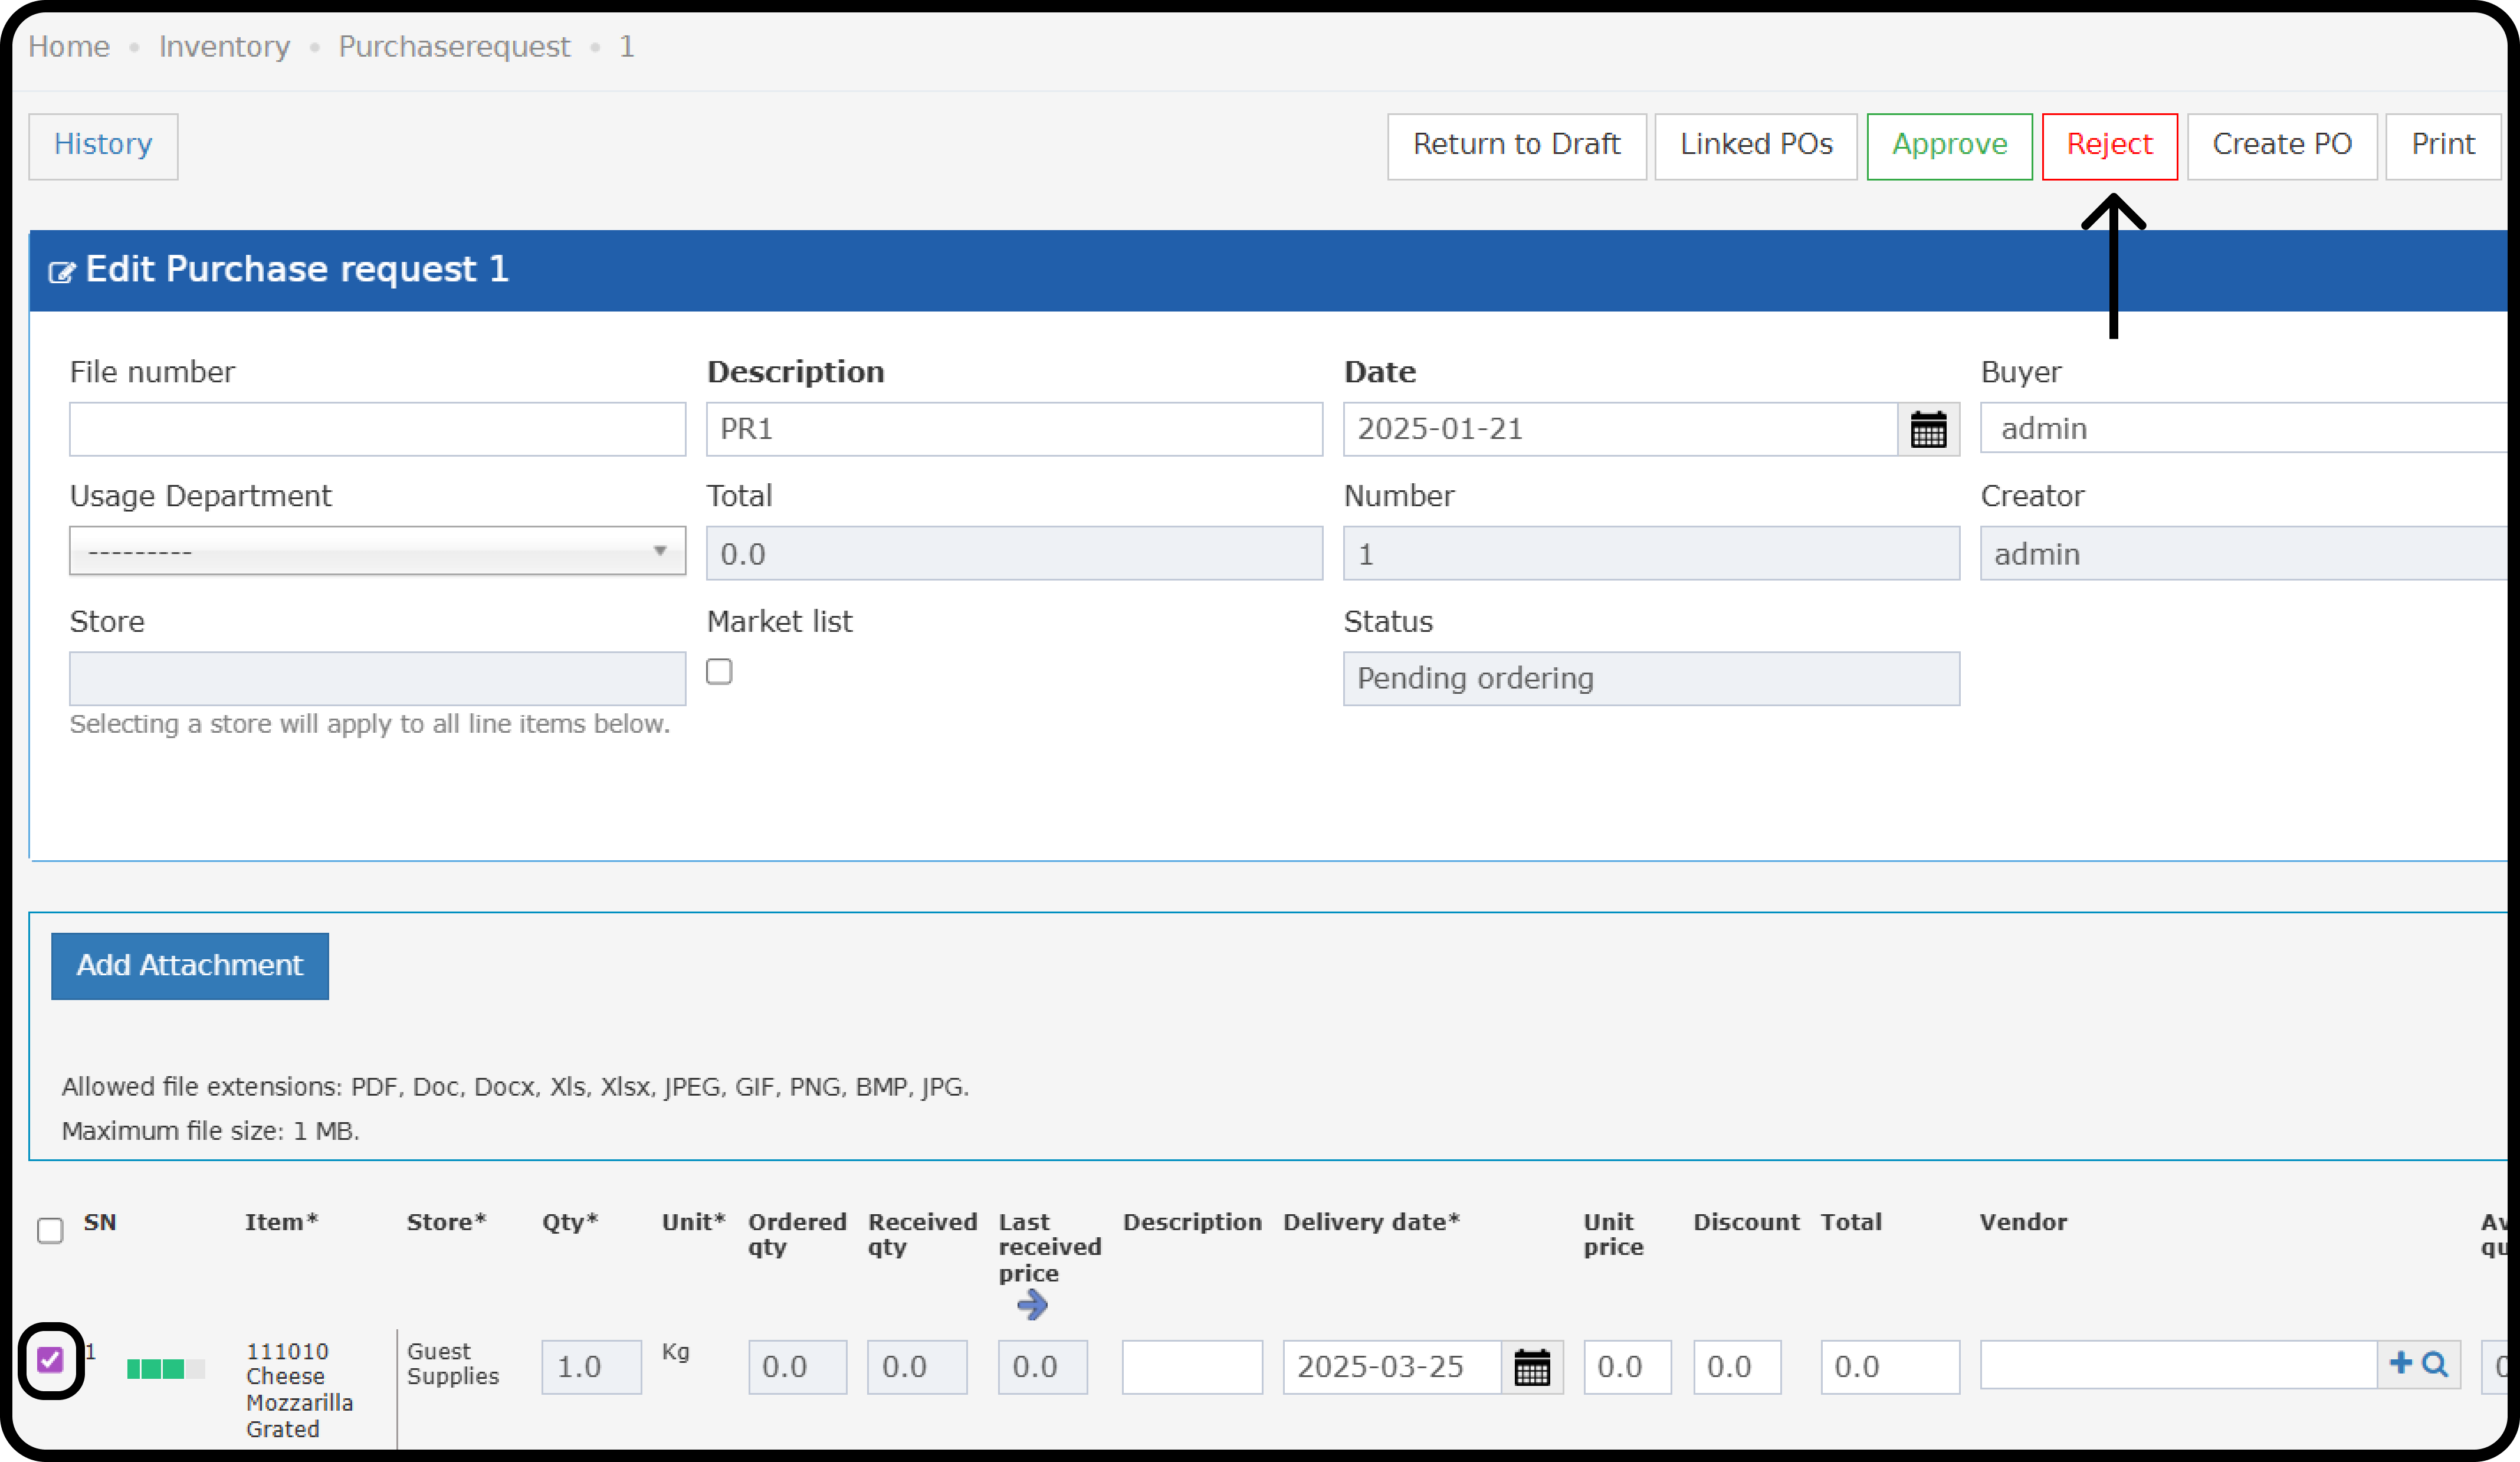
- Select one or more items.
- Click Reject.
- Enter a Rejection Note (10–300 characters). It is saved with your name, the date, the time and your approval level.
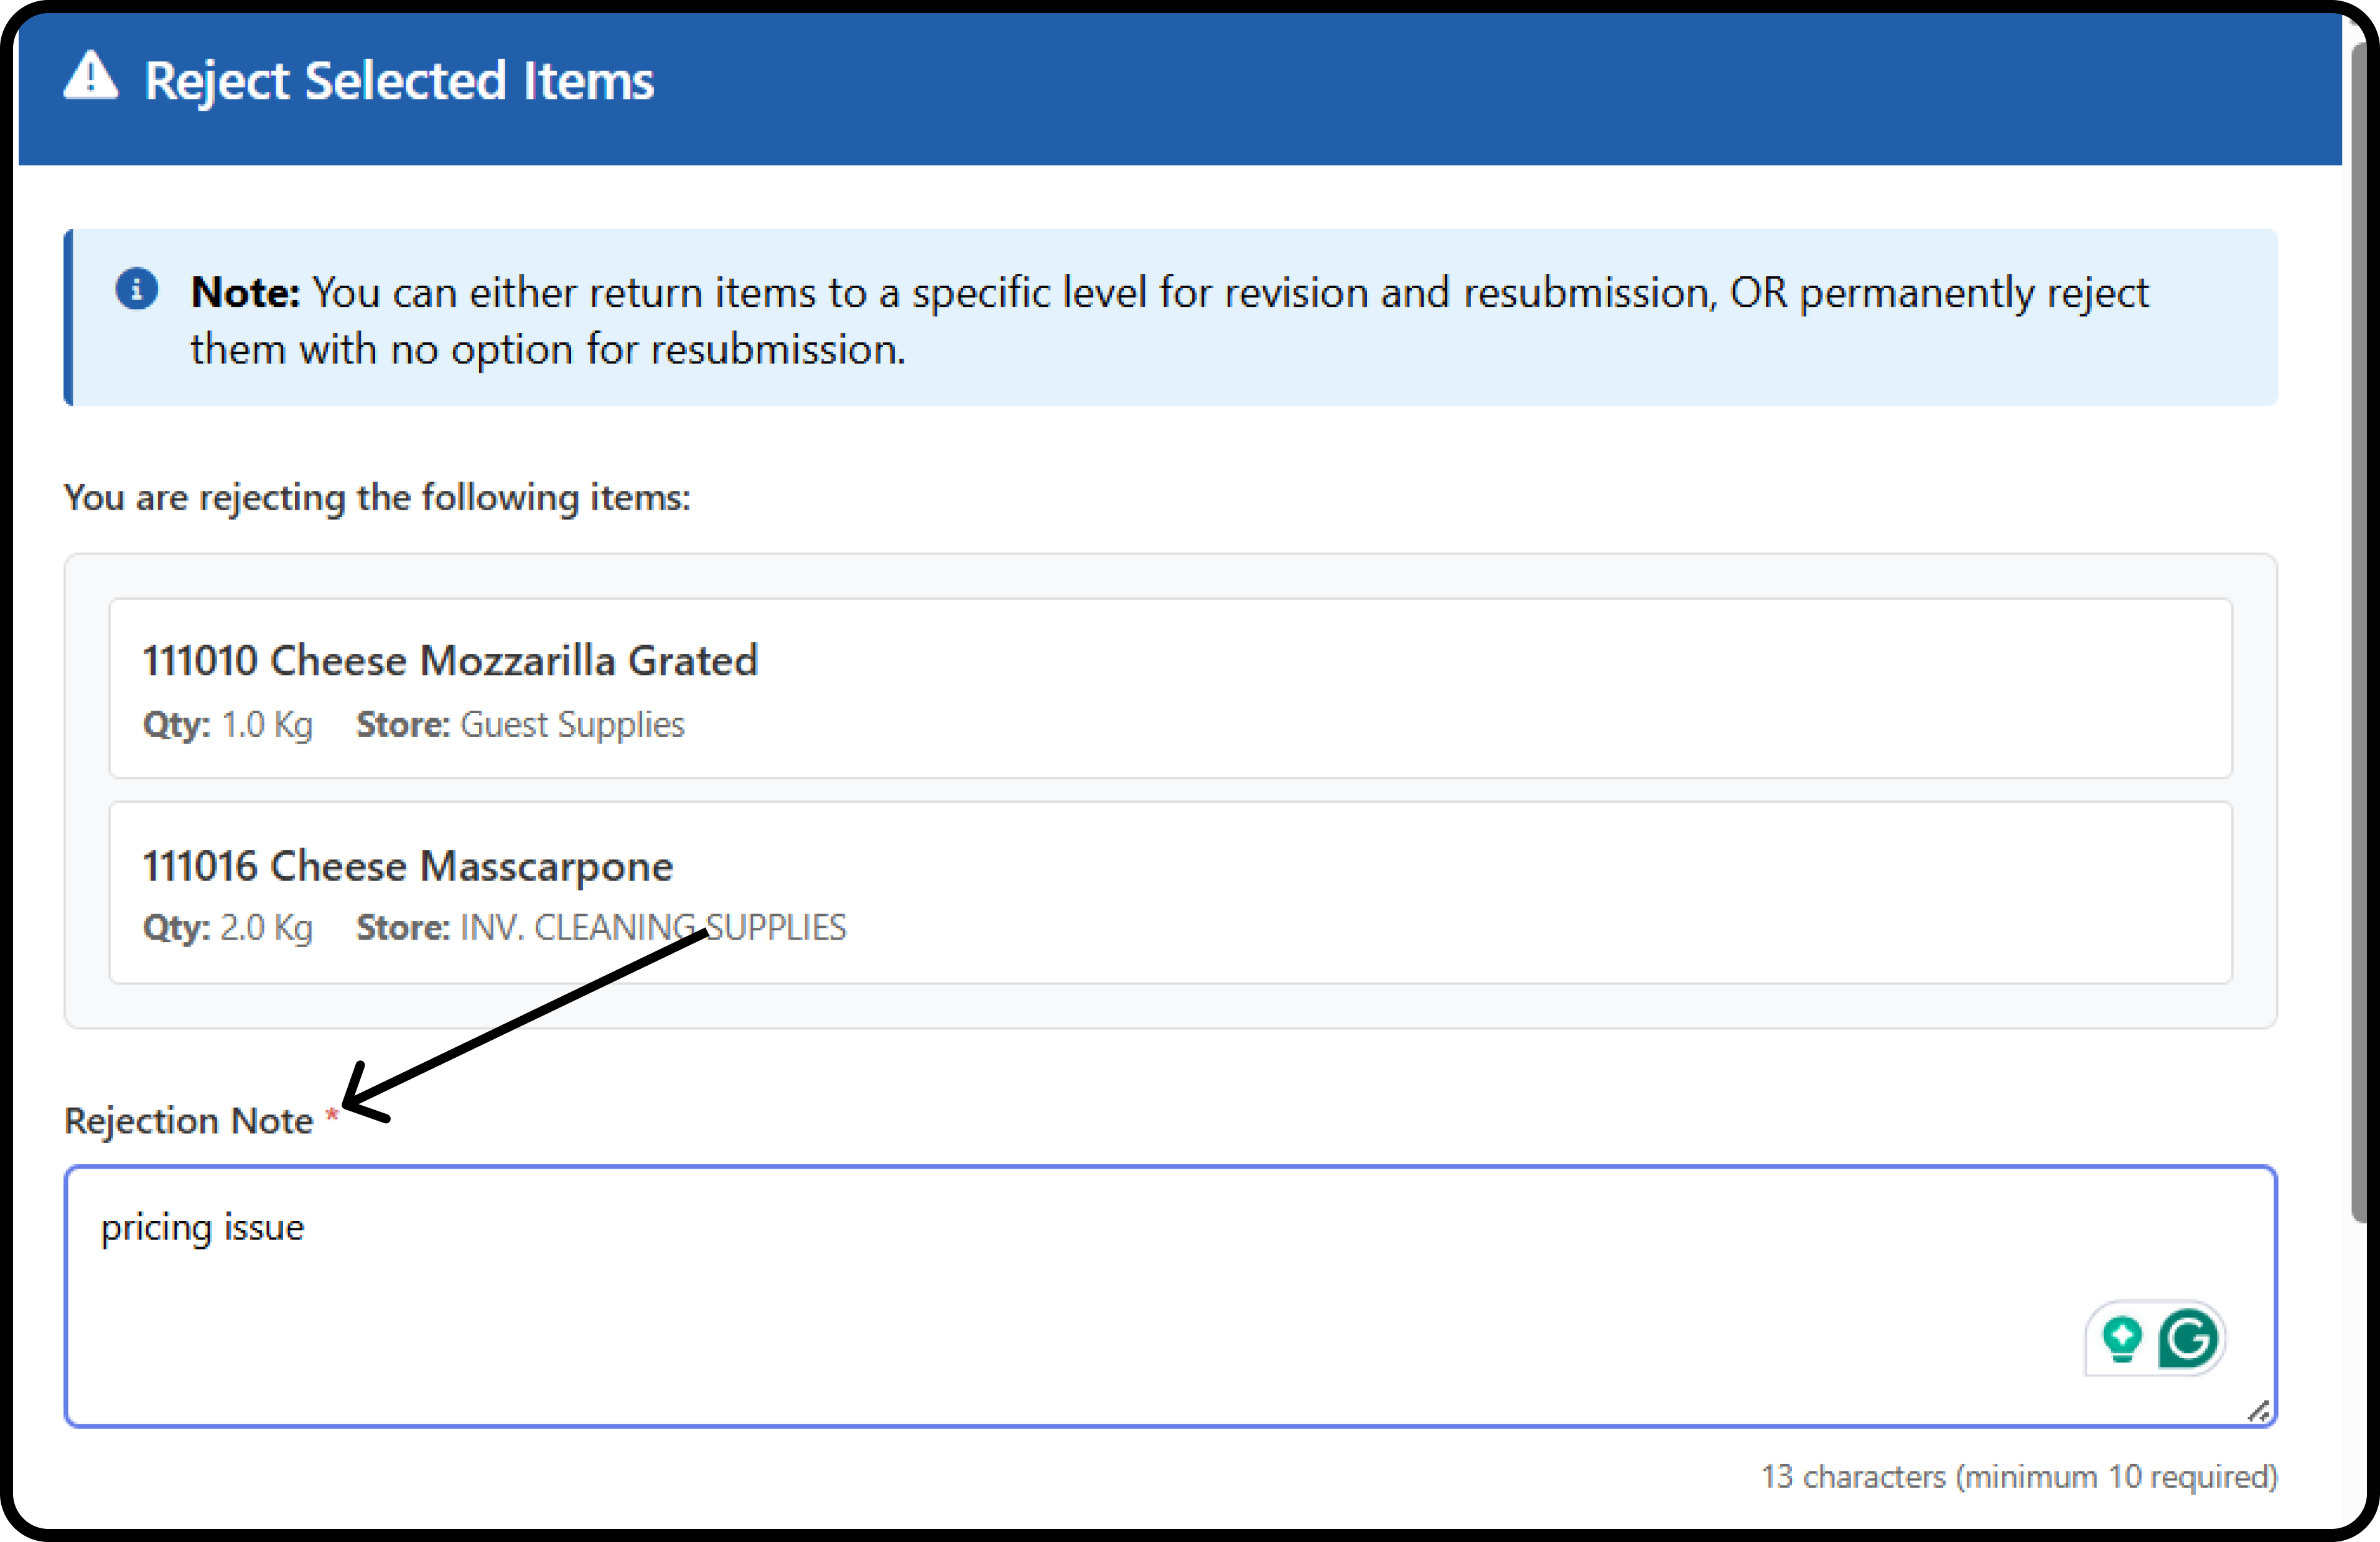
- Choose where the item goes, then submit.
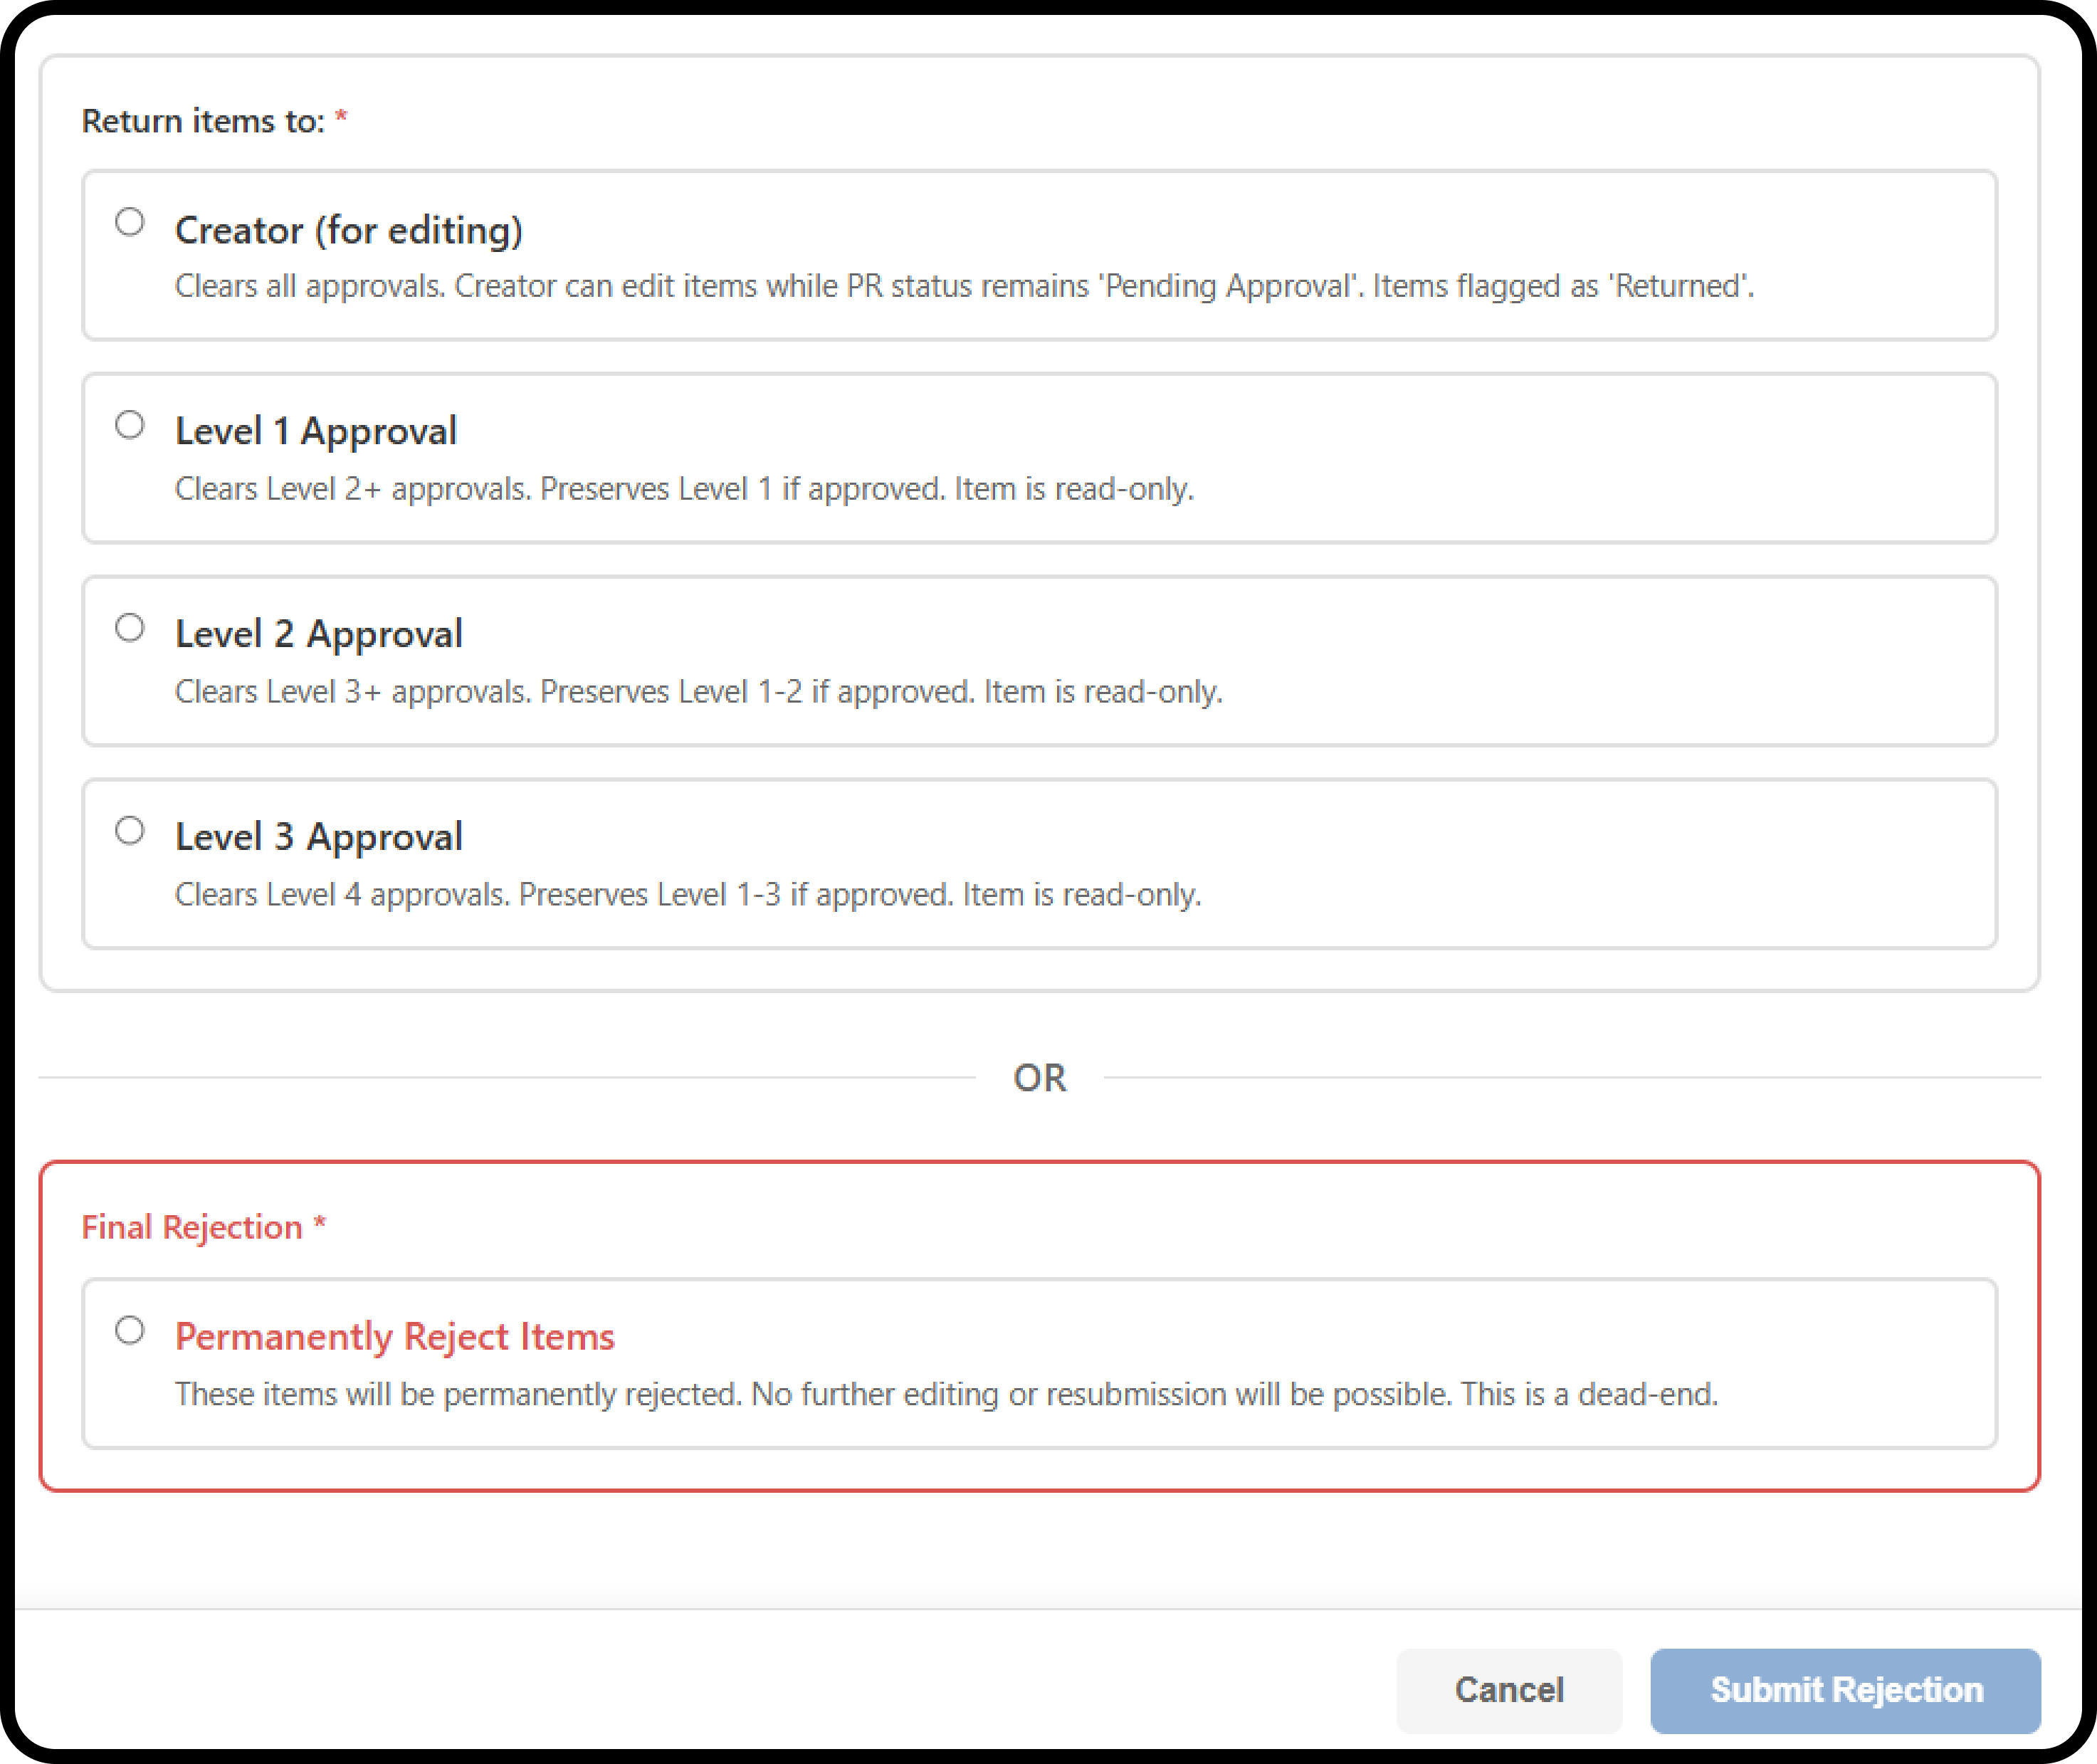
After a return:
- Only the creator can edit and submit items returned to them, with Submit Returned Items.
- All other items are locked.
- Items returned to a level keep the approvals below it.
- Approval history and rejection notes always show.
- Green: Approved
- Yellow/Orange: Pending
- Red: Rejected
- Own color or icon: Returned
History Log
Clone a Purchase Request
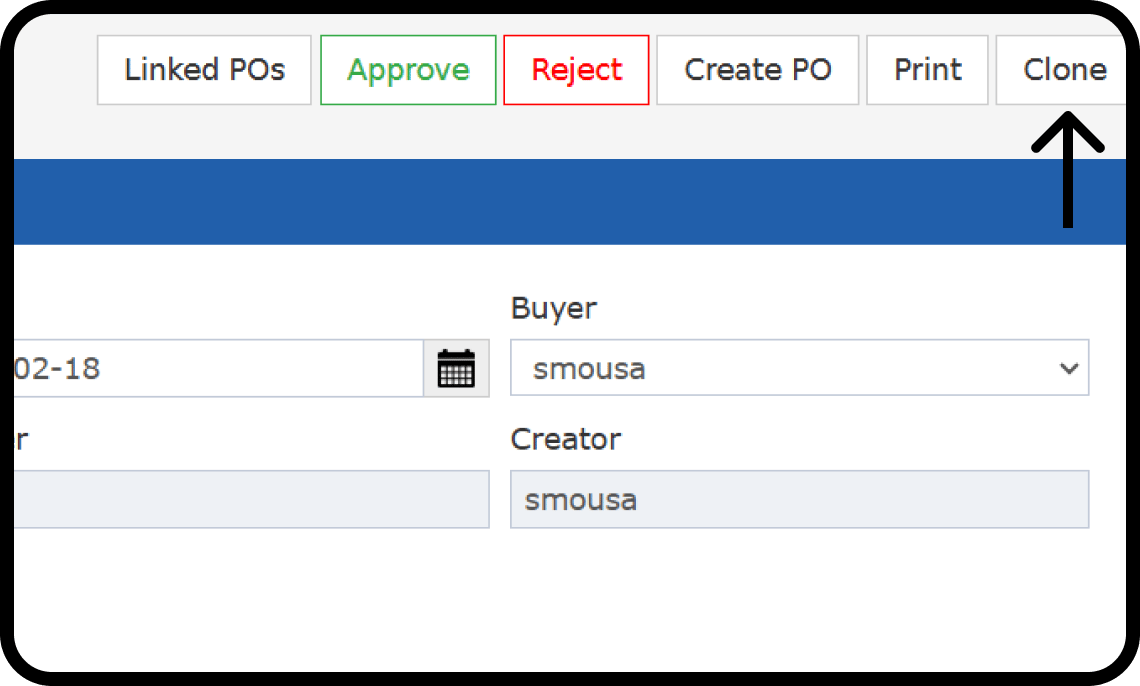
You can clone a request in any status.