Business Value
- Send payment links from reservations. Guests pay with MADA, Visa or Mastercard.
- Guest name, email, mobile and amount come from the reservation automatically.
- Paid amounts post to the reservation automatically. No manual entry.
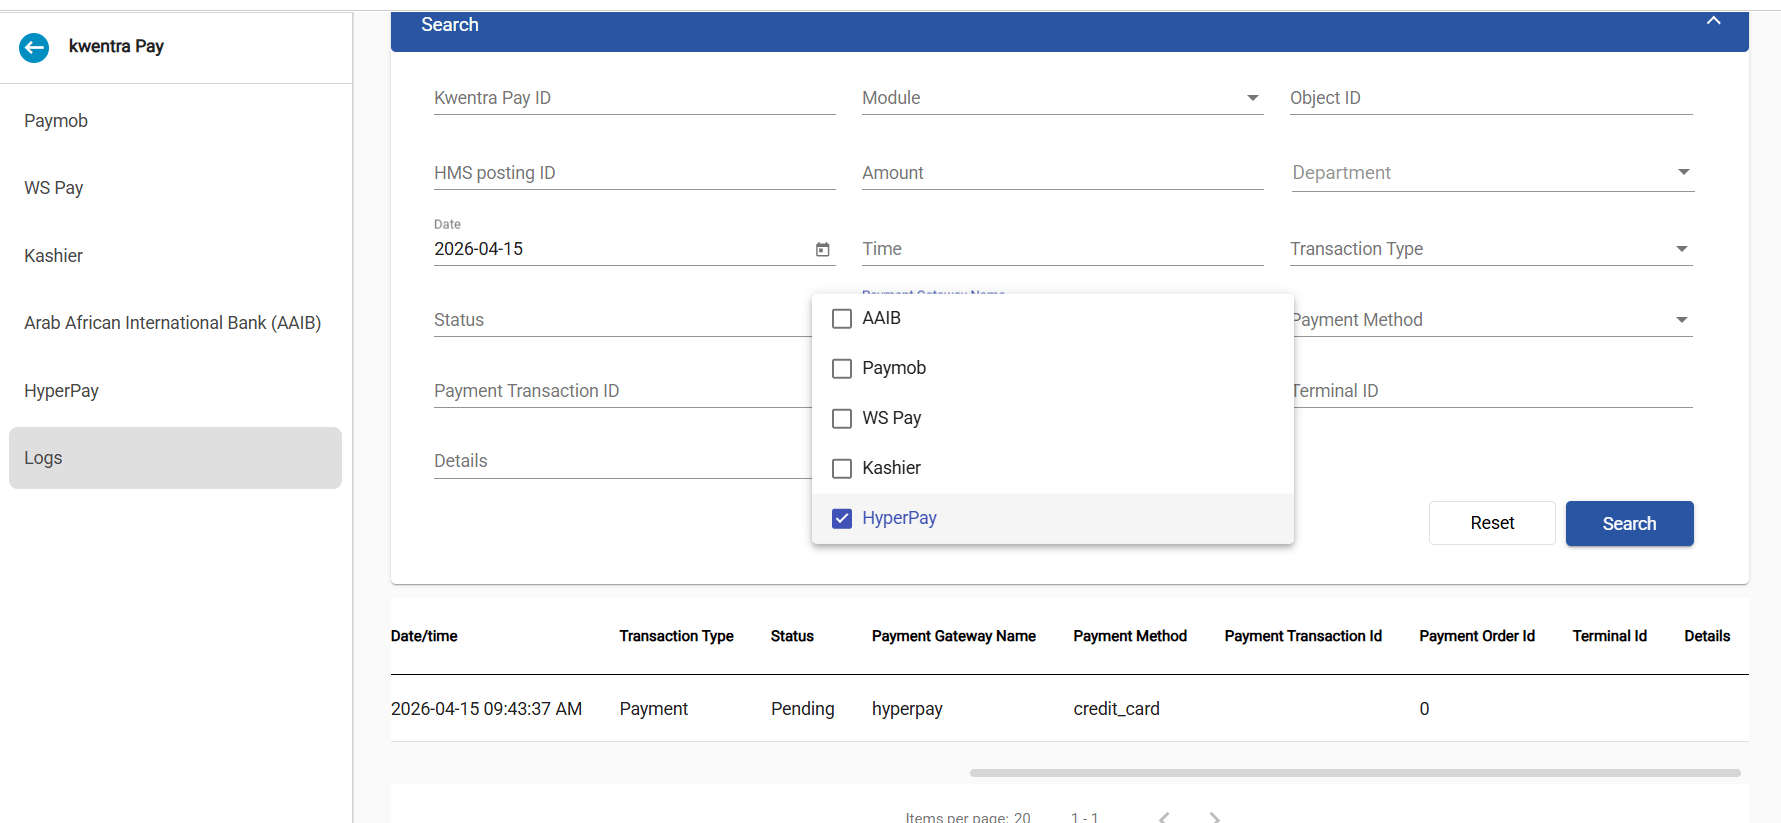
- Hyperpay transactions show in the Kwentra Pay logs with other gateways.
- Set up many payment departments, each with its own currency and button label.
Use Cases
- A receptionist sends a deposit link to a guest’s mobile or email from the reservation.
- The accounts team filters the Kwentra Pay logs by Hyperpay and Details to find a transaction.
- A hotel admin sets up two payment cards, each linked to a different credit department.
How It Works
1. Settings Screen
Access Credentials
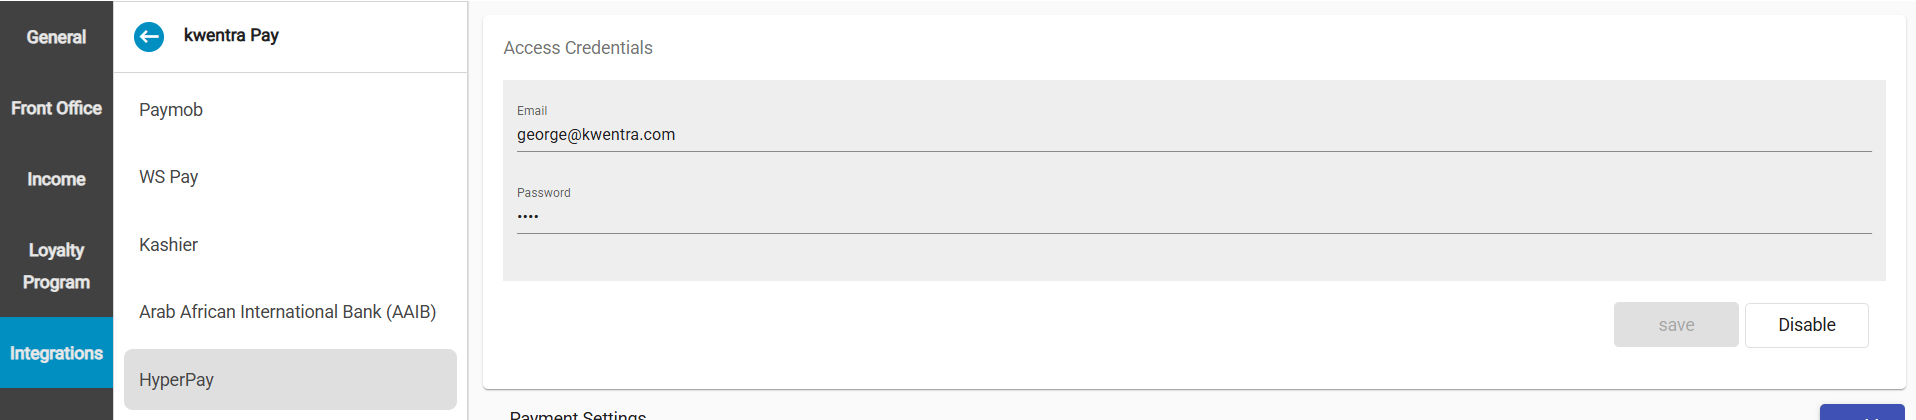
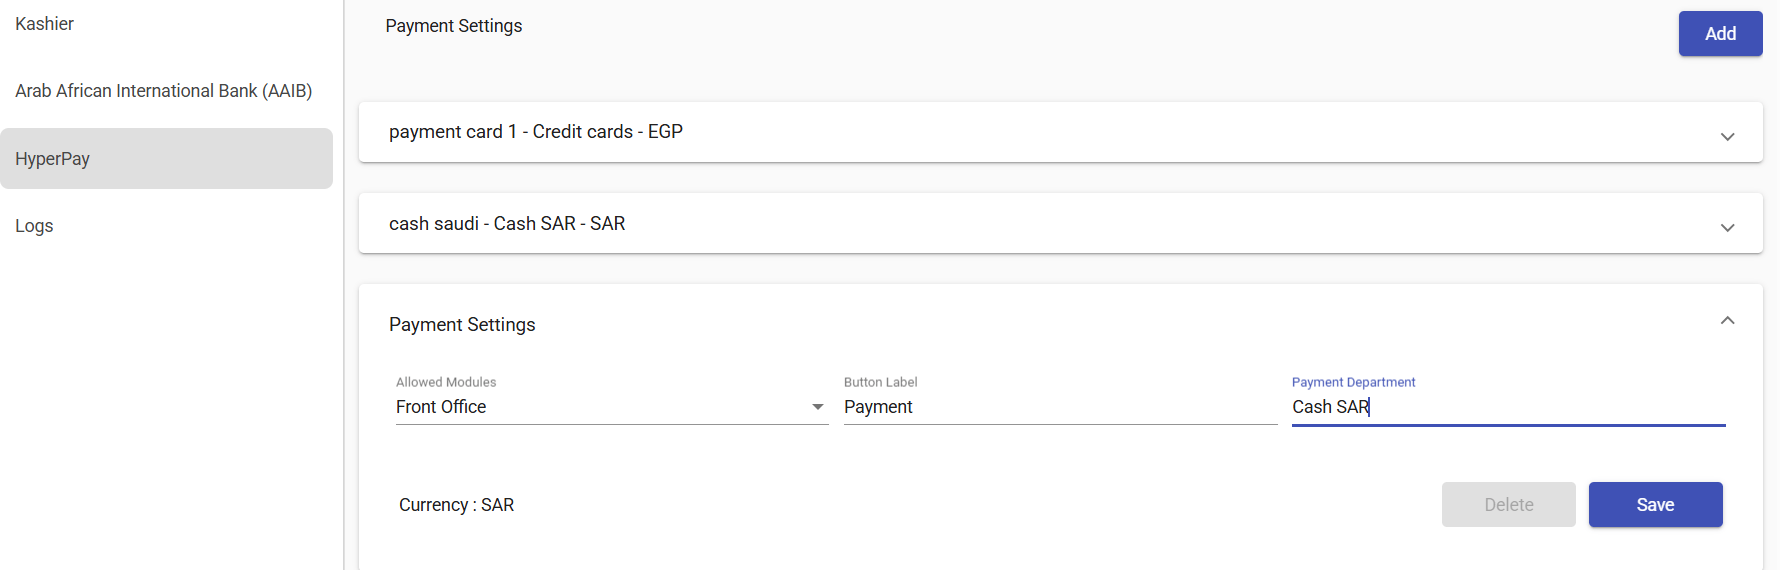
- Fill in the access credentials. Set up at least one payment card.
- Click Save.
- Click Enable Integration. The system checks your credentials with Hyperpay.
- If they are correct, the integration turns on.
- If they are wrong, you see: “Wrong Credentials — Data is not saved & integration is not enabled.”
2. Create a Payment Link
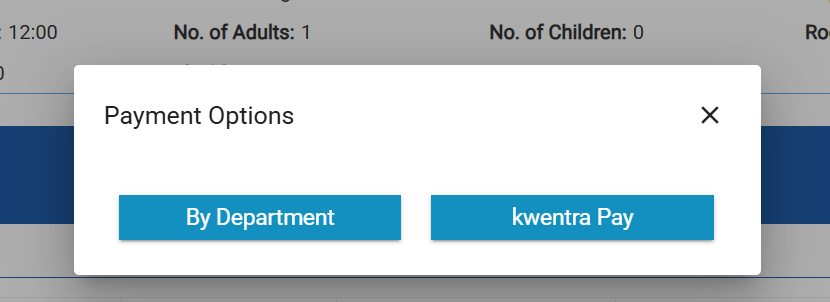
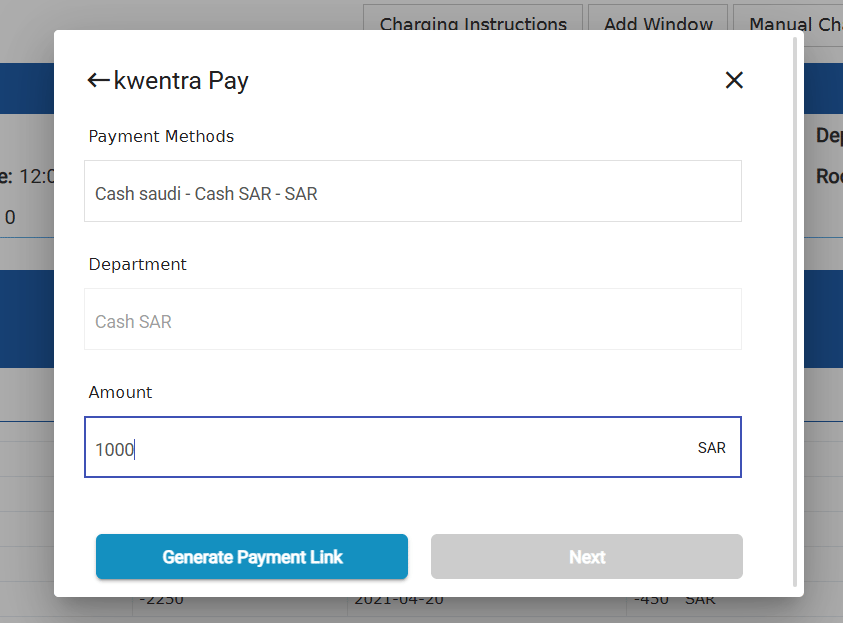
Hyperpay creates the link from the reservation data when you use the Kwentra Pay button.
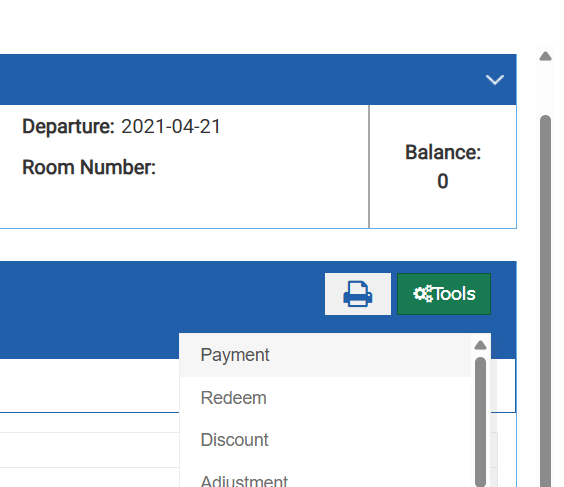
- Choose Kwentra Pay.
- Choose the payment department that records the payment. Enter the amount.
- Copy the link, or send it on WhatsApp.
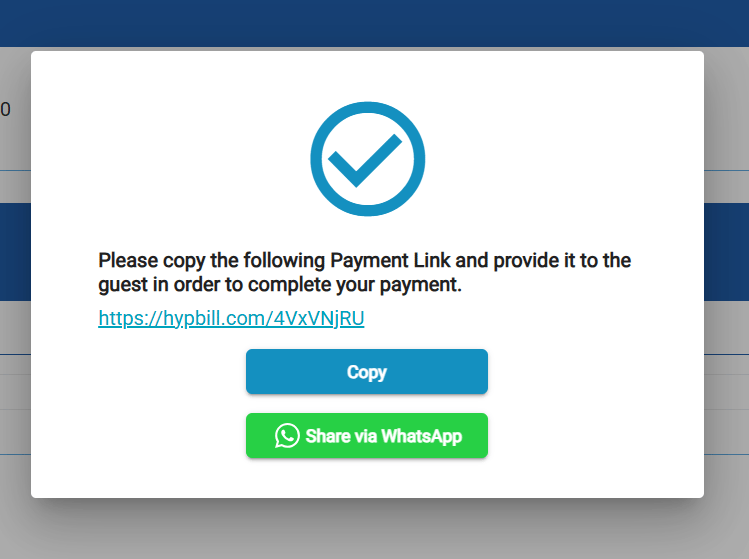
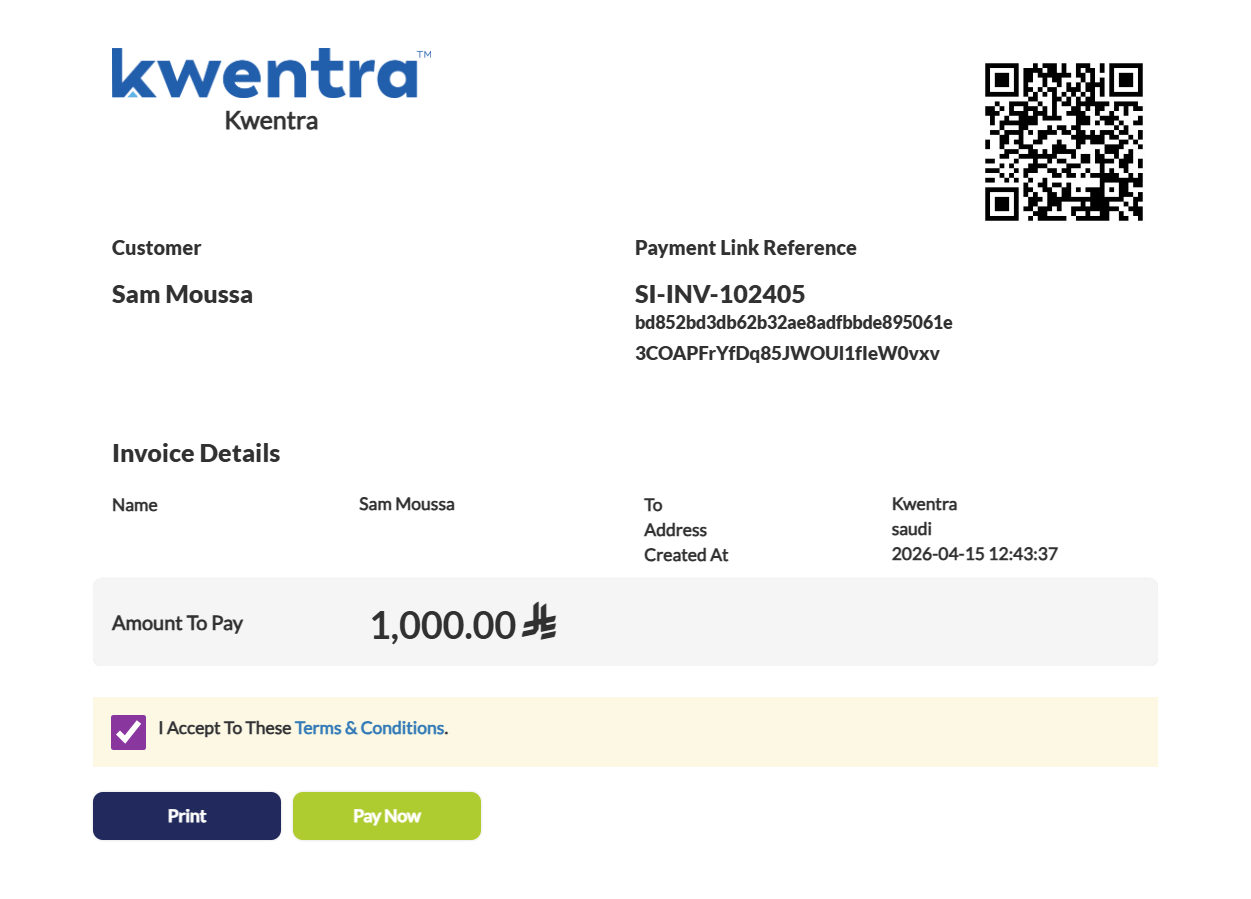
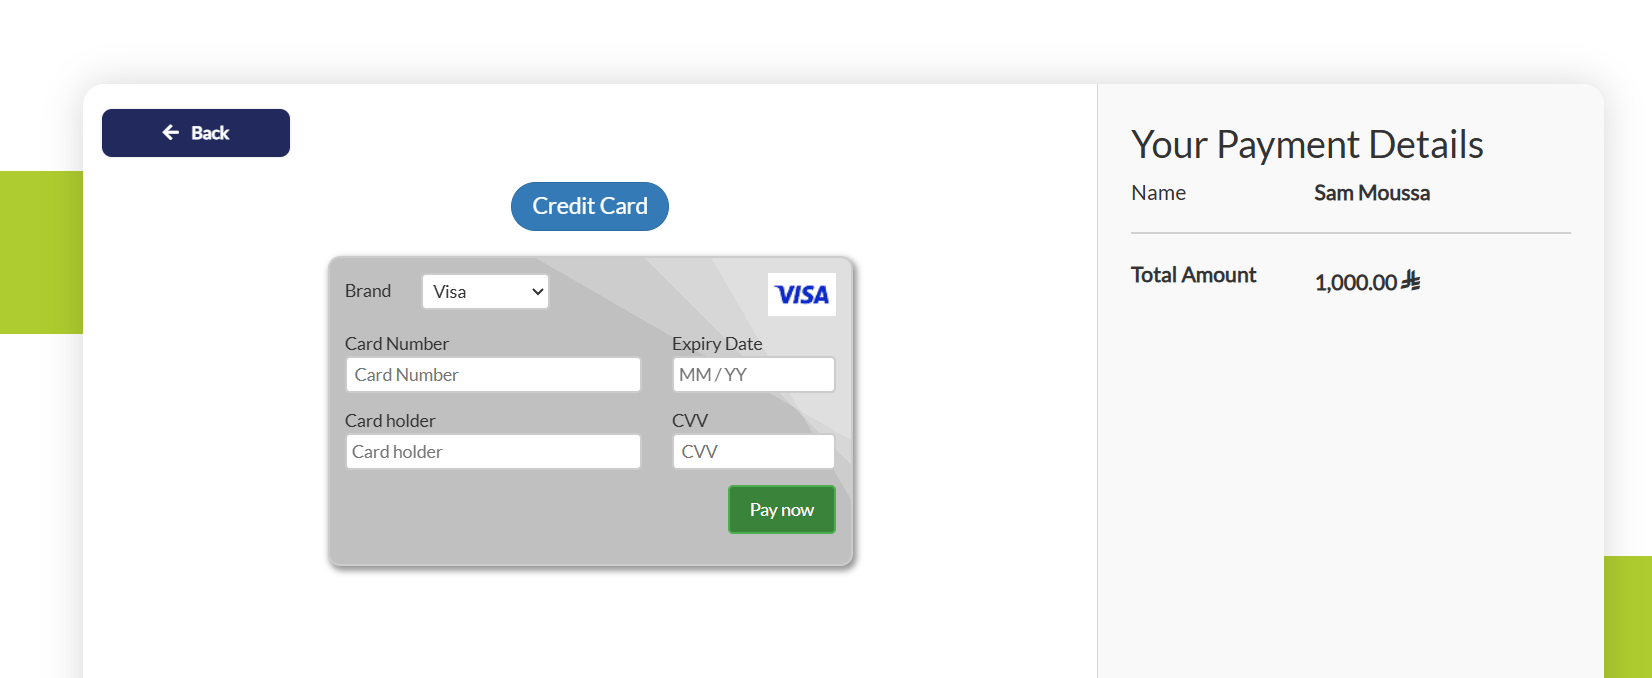
- The link accepts MADA, Visa and Mastercard.
- The guest opens the link and pays.
- Hyperpay then tells Kwentra (webhook). The payment posts to the reservation automatically.
3. Transaction Logs
All Hyperpay transactions are saved in the Kwentra Pay logs. The logs screen now has:
- Payment Gateway Name: pick one or more gateways. Pick Hyperpay to see only its transactions.
- Details column: shows the transaction data Hyperpay sends back.
- Details filter: search log entries by any text in the Details field.